DISCLAIMER: The modifications described in the following text are for educational purposes only. In no way do I recommend that you apply these modifications to your own motorcycle. If you do choose to go ahead and modify your motorcycle based on the information in this document you will accept all responsibility for your own actions. The author(s) of this document, and host(s) providing it for you, accept no responsibility whatsoever. If you are unqualified to make any of the changes described herein but are bent on doing the modification, seek out a knowledgeable friend or professional mechanic for assistance.
Fitting a new tyre
Not the usual way to do it! This is an alternative method as demonstrated to a group of riders by Paul Studley at a Devon TRF Group "Sharing Knowledge" day.
Tools needed:- three tyre levers, a file, small screwdriver and perhaps a rubber mallet.
Parts/supplies: Inner rube, old inner tube, duct tape, and waterproof grease.
Over many years, Paul has proven that it is quicker to repair a puncture whilst out on the lanes, by taking the tyre completely off the rim. Do this by pulling the tyre off both sides of the rim which allows the rim to drop down into the tyre, between the two beads. It is then easy to get the rim out of the tyre.
Taking the tyre off completely enables it to be properly checked for thorns, nails, etc. and also makes the whole replacing/repairing tube business a lot easier.
I therefore started the job with the wheel rim already stripped of tyre and tube. Some of the jobs I describe will only be needed once and best done back at base.
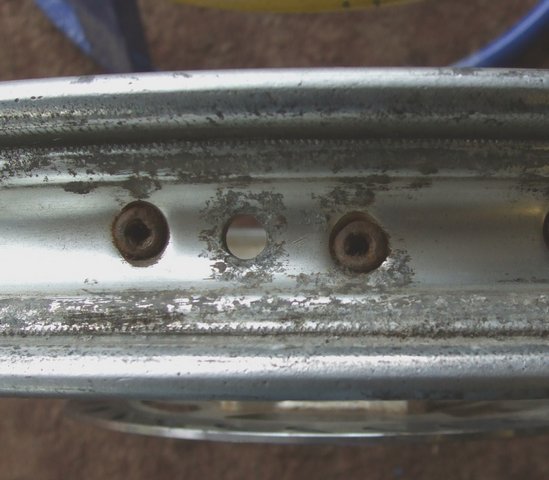
The first job is to oval the valve stem hole. The reason for this is that, over time, a tyre can creep on the rim and eventually pull the valve out of the inner tube. By ovalling the valve stem hole there will be enough room to allow the valve to tip over and give you early warning of tyre creep.
You start with this:
Use a round file to remove the sides of the hole:
This allows the valve to tilt if the tyre creeps:
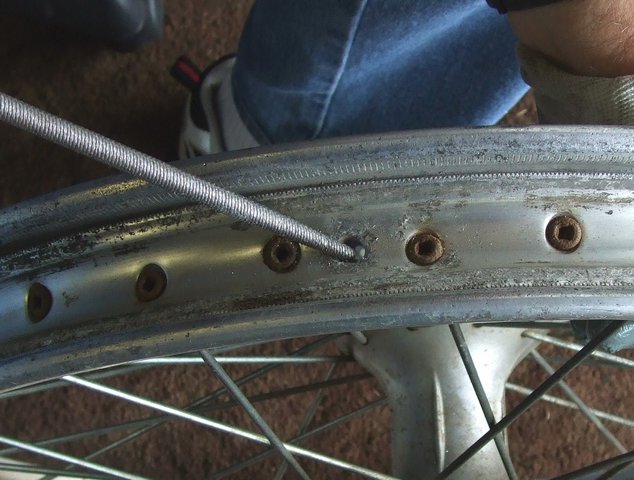
But, that is jumping ahead. You first need to prepare the rim by wire brushing and using a small screwdriver to get rid of any debris in the nipple ends. When it's all clean, put a generous blob of waterproof grease in the nipple end to help prevent further rusting:
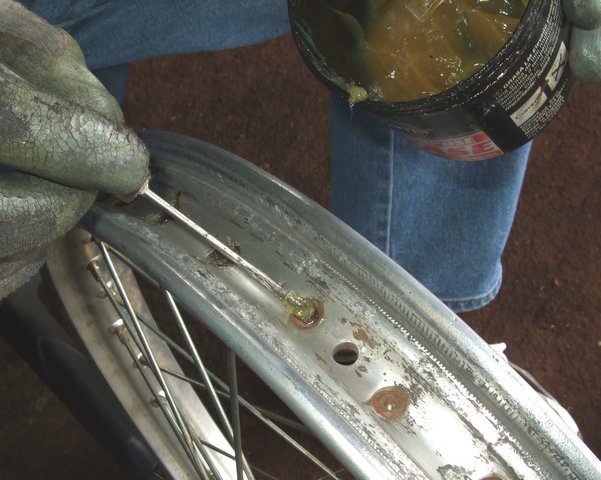
To protect the rim and keep the grease where you put it, put a couple of layers of duct tape tightly around the rim well. This will protect the spoke nipples much better than the rubber rim tapes which allow water underneath to rust them out:
Although it isn't necessary to use a rim tape with this method (the duct tape already protects the tube from the spoke nipples), I do so because it helps manage the rim lock when fitting the tyre.
I put my rim locks on the opposite side of the rim to the valve to help keep the wheel in balance although it makes tyre fitting slightly more difficult. If you have the rim lock and valve close together you can get a jackhammer effect at speed on the tarmac!
Put some waterproof grease on the rim lock bolt, push it through the tape and put the rim tape over the rim lock:
I was lucky in that the tube had been previously "skinned" with an old inner tube. This is a really good idea to help prevent compression punctures or "snakebites":

Inflate the inner tube so that it only just creases over a finger. This helps fitting the tube and prevents the tube twisting or pinching and puncturing the tube when fitting the tyre:

Some people completely lube the tube with baby powder, moose lube or non-caustic washing up liquid to give that extra bit of protection against snake bite compression punctures.
Slip the slit old inner tube over the partially inflated good one and put them in the tyre:
It is now quite easy to get the valve stem through the rim.
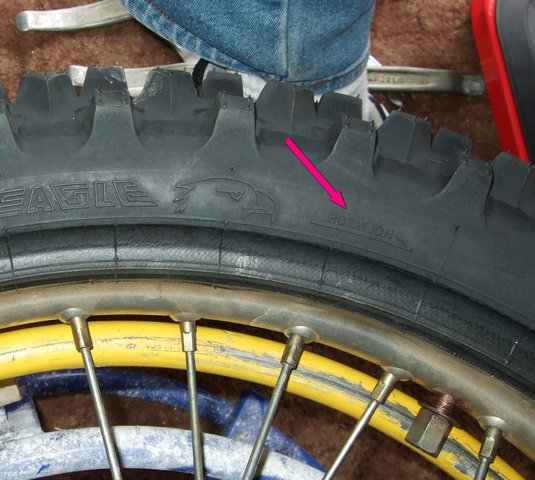
NB Check that you are fitting the tyre the right way around - many are directional:
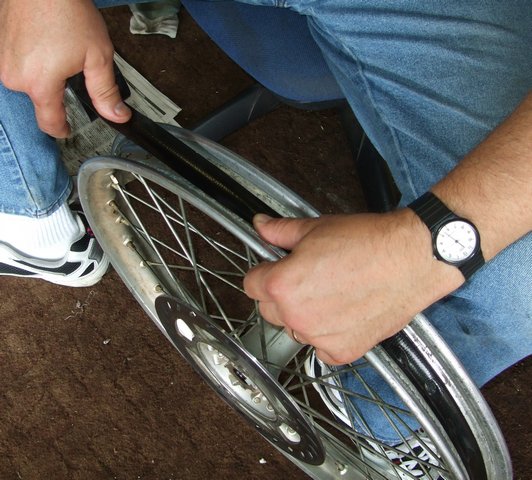
Put some waterproof grease on the valve stem and sit the rim on it. Spread out the the tyre so you can push the rim down between the beads of the tyre.
This is the important bit of this method as it allows the rim to be easily fitted within the tyre with beads on either side of the rim ready for fitting the tyre:

I use bead buddies to help fit the tyre as the most important tip to make tyre fitting easier is to get the bead down in the well.
I start by fitting the tyre over the rim lock. Make sure it is free to go up between the beads. This is where the rim tape helps prevent losing it inside the tyre!

Then put the levers to work taking small bites to make life easier. I tend to use a rubber mallet to whack the last bit of bead down into the rim as it reduces the chances of pinching the inner tube when the tyre is at its tightest in the fitting process:

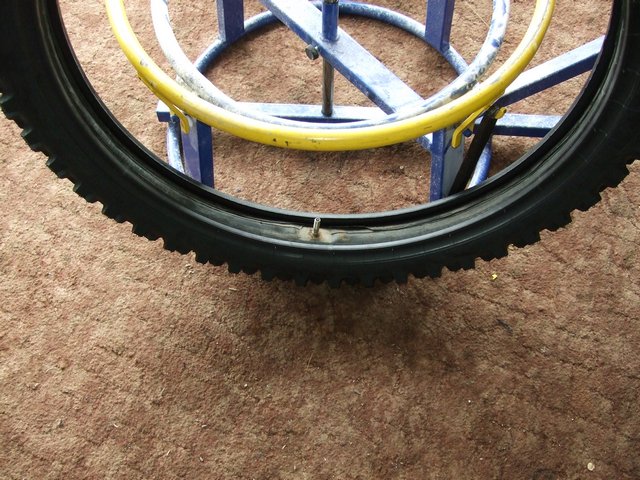
Once the tyre is on, do a preliminary tighten of the rim lock and make sure the valve is at right angles to the rim before inflating. Make sure the tyre seats properly all the way around. Sometimes it is necessary to release the pressure and add a bit more lubricant to stubborn sections before re-inflating. Tyres such as the Pirelli MT43 have a fairly deep border near the rim and it is possible to prise out the tyre carefully with a wide-bladed screwdriver but be careful not to damage the tyre! Once inflated to the correct pressure, fully tighten the rim lock and replace the valve cap. I use a Schrader valve cap which has a valve core remover.
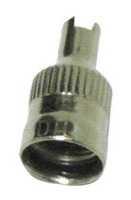
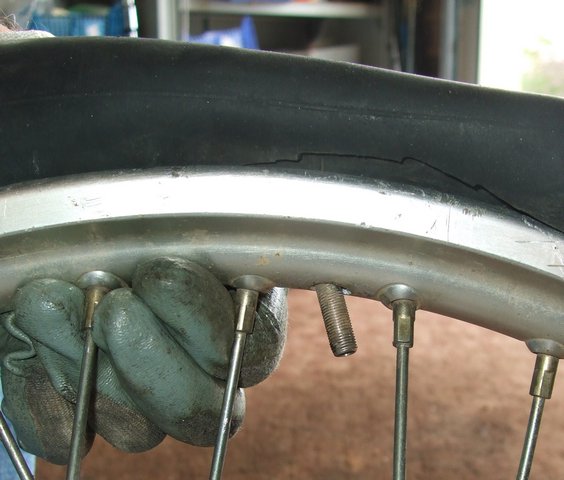
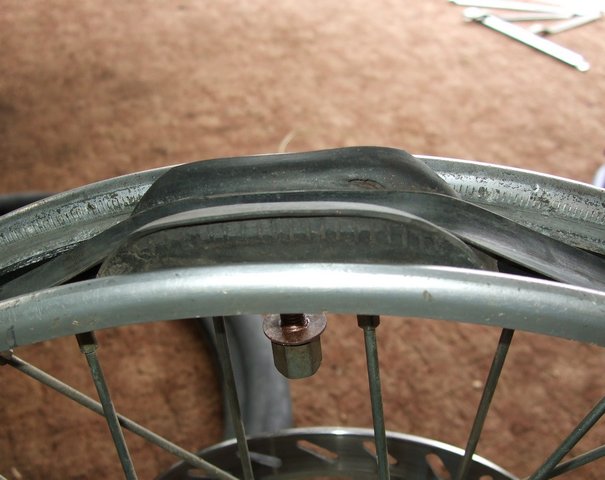
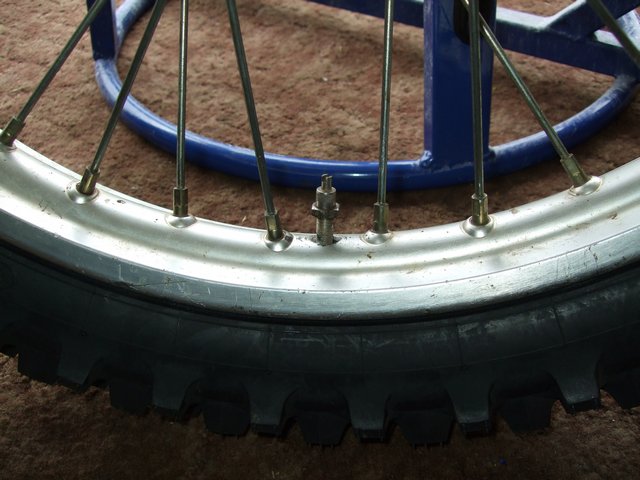
Another tip is not to tighten the valve stem nut against the rim as this prevents you seeing it rock if the tyre creeps. Best to fit the valve cap and then tighten the nut up against it as shown in the pic below. It will then be more obvious if the tyre creeps as it will tip over at an angle to the rim:
I didn't use any lubricant to fit this front tyre as it went
on quite easily - especially after warming it in the sun for a while. However,
smaller diameter rear tyres can be a tad trickier and a bit of lubricant makes
life easier. I use baby powder or talc which is a bit messy but some riders use
window cleaner or WD40. Just make sure that whatever you use won't eat into the
aluminium rim as washing up liquid apparently does (some have a very high salt
content)!
Job done!
Brian Sussex
http://www.totallyttrs.com/
- everything you need (possibly!) for
your TTR250
http://www.ttr250.com/
- all you ever wanted to know
about TTR250s
http://ttr250.activeboard.com/
- the forum for TTR250 owners
http://www.totallywrs.com/
-
for all your WR250R and WR250X after-market parts and accessories
Reference within this site to any specific commercial or non-commercial product, process, or service by trade name, trademark, manufacturer, private individual or otherwise does not constitute or imply an endorsement, recommendation, or favour by Brian Sussex or Totally TTRs