|
DISCLAIMER: The
modifications described in the following text are for educational purposes only.
In no way do I recommend that you apply these modifications to your own
motorcycle. If you do choose to go ahead and modify your motorcycle based on the
information in this document you will accept all responsibility for your own
actions. The author(s) of this document, and host(s) providing it for you,
accept no responsibility whatsoever. If you are unqualified to make any of the
changes described herein but are bent on doing the modification, seek out a
knowledgeable friend or professional mechanic for assistance. |
| |
Step-by-Step Guide
with Photos for
fitting
the Top
Suspension Bush Kit. |
| |
|
 |
| |
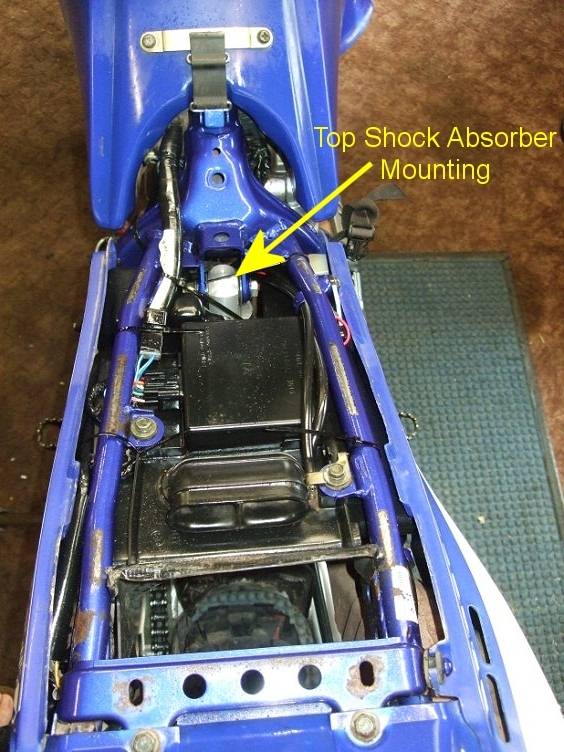
Put the bike on a stand so the rear
wheel is off the ground.
Remove the seat to
see the top shock mounting. |
| |
 |
| |
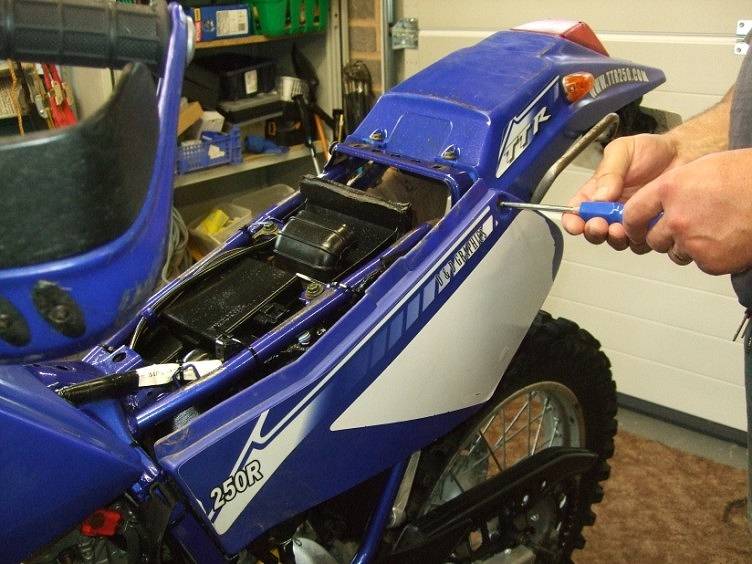
| Remove both side panels (we put the
screws back into the holes for safekeeping) |
| |
 |
| |
 |
| |
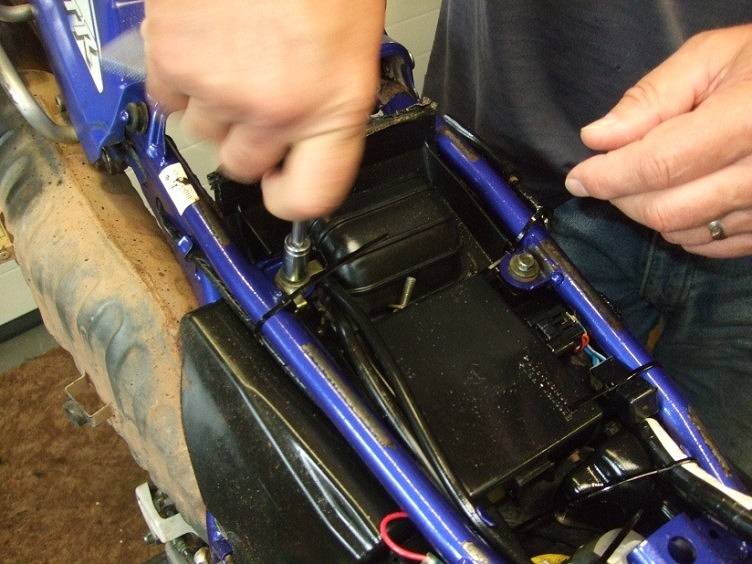
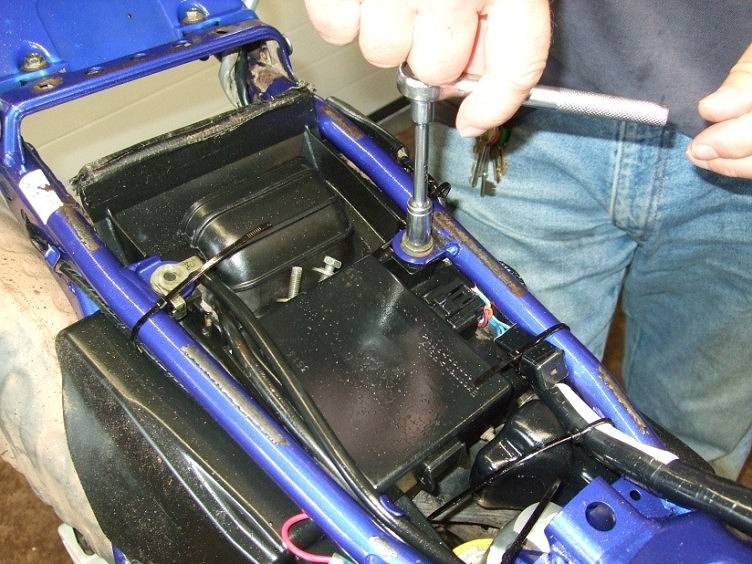
Remove top airbox
bolts
NOTE...Please be aware that the
'captive' nuts on all three airbox fixings aren't always quite so captive and
have a habit of dropping out onto the floor. A dab of grease or instant gasket
will keep them in place. |
| |
 |
| |
 |
| |
| Remove Left-Hand subframe
rail |
| |
 |
| |
 |
| |
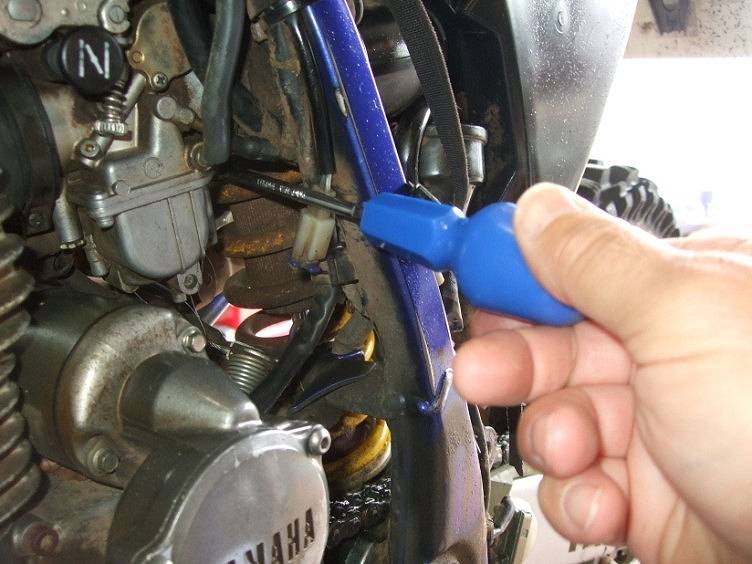
| Undo the Jubilee clip (Phillips screw)
holding the intake tube to the carb |
| |
 |
| |
| Remove lower air box bolt on
Right-Hand side |
| |
 |
| |
| Roll the air box out and down
through the Left-Hand side of the frame. Disconnect the breather pipe from the
breather on the airbox |
| |
 |
| |
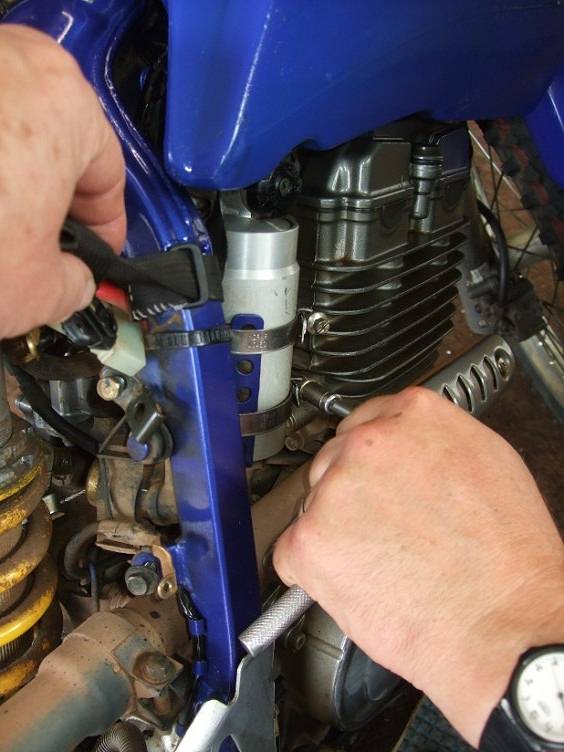
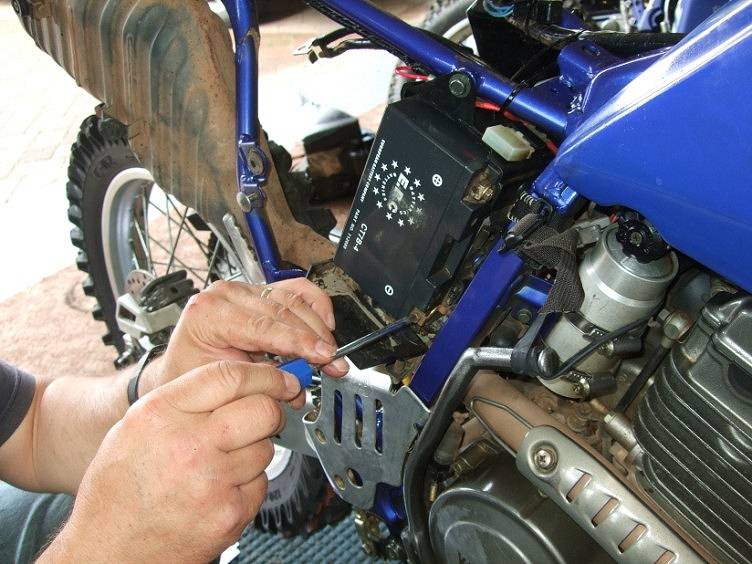
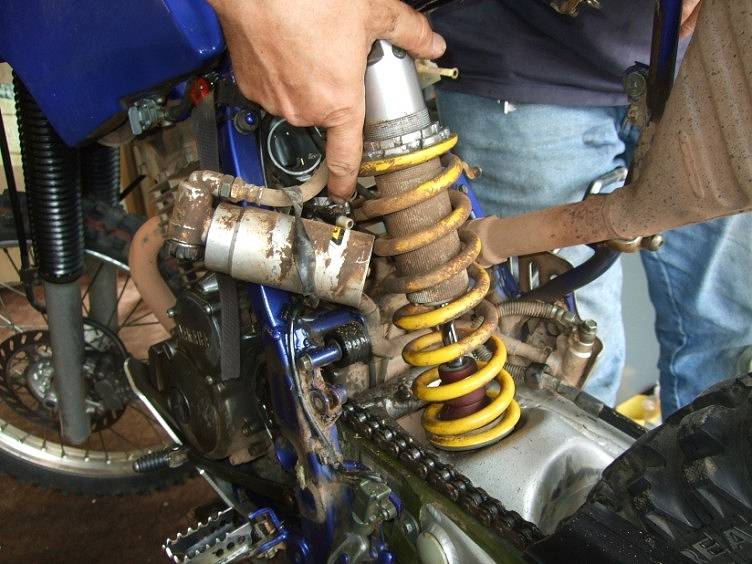
| Undo clips holding shock reservoir
to frame mounting and remove clips - bottom one first then lift the reservoir
and slide the top clip off the bottom. |
| |
 |
| |
| Disconnect battery negative
connection |
| |
 |
| |
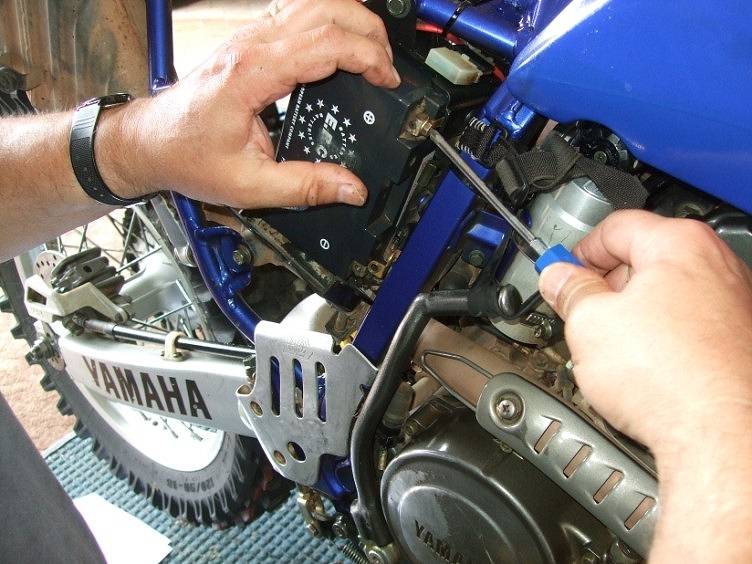
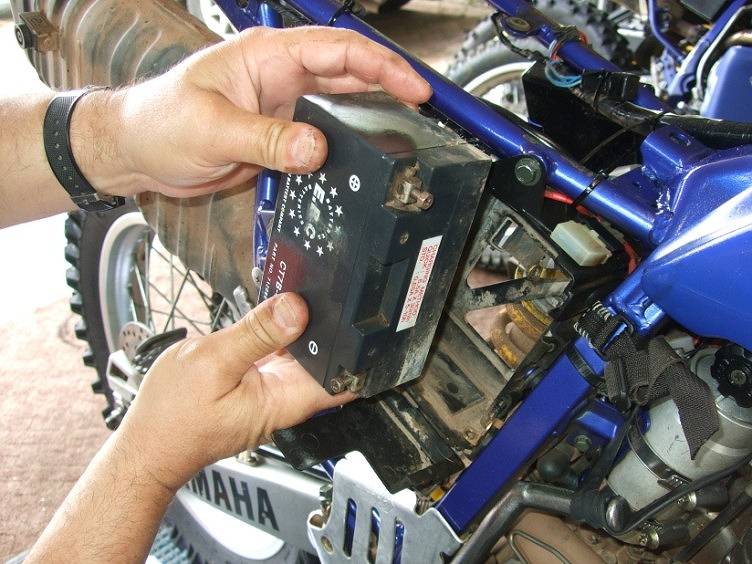
| Taking care not to ground the
screwdriver (the negative connection tends to hang against the battery
terminal) undo the positive connection and remove the battery |
| |
 |
| |
| Screws put back into terminals so we
don't lose the nuts! |
| |
 |
| |
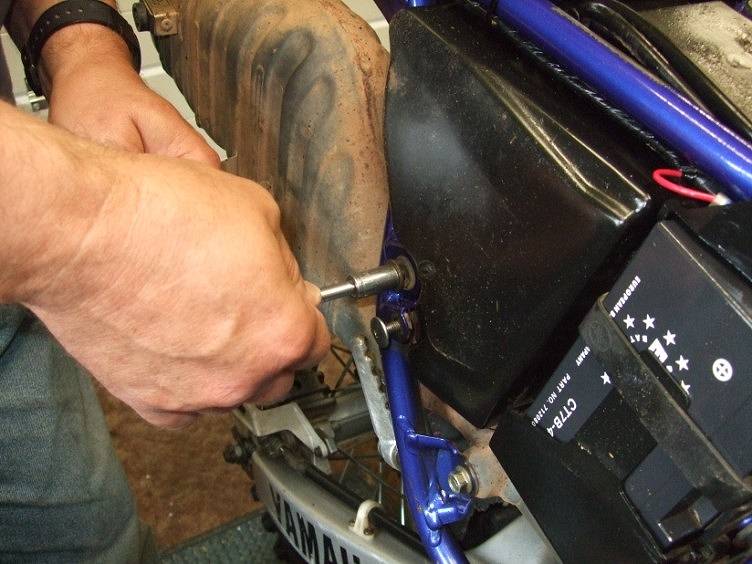
| All 3 bolts holding the battery case
are removed next |
| |
 |
| |
 |
| |
 |
| |
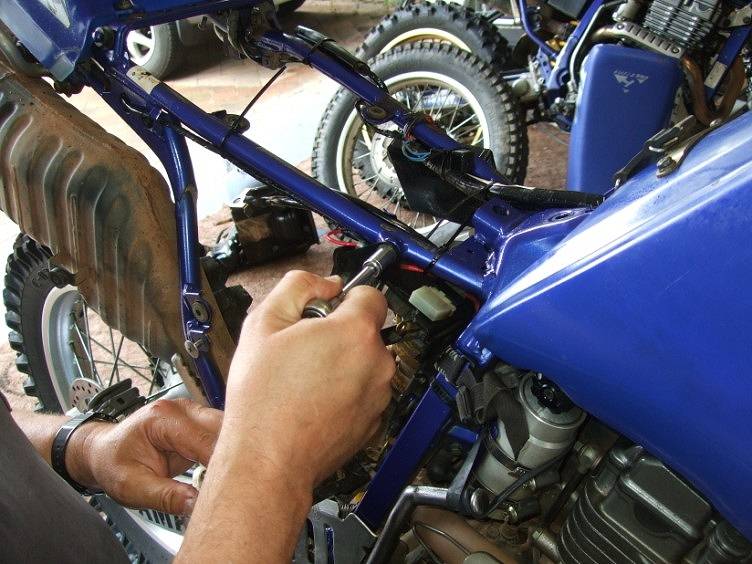
| Remove the positive
lead from the battery box |
| |
 |
| |
| and the bolts are fitted back into
the frame for safekeeping |
| |
 |
| |
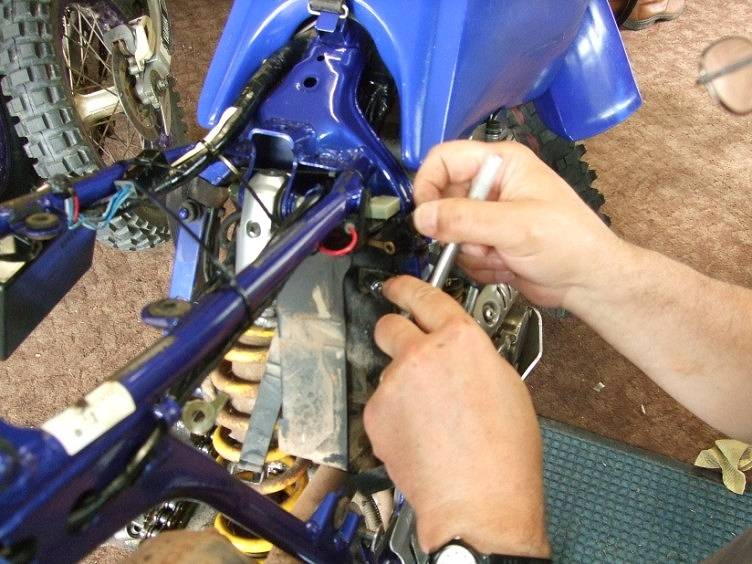
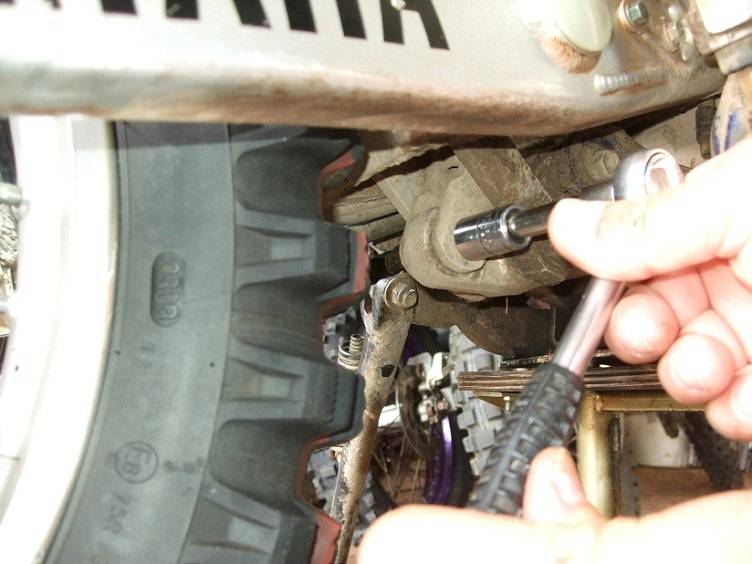
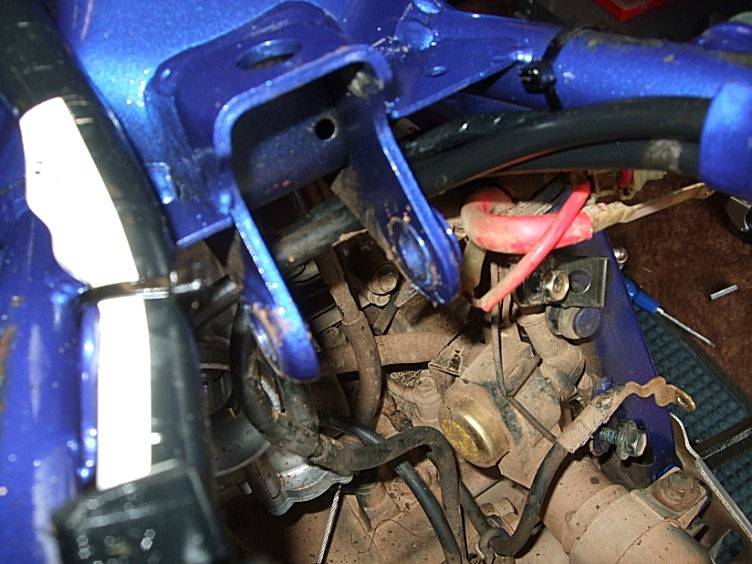
| The shocker lower mounting bolt is
next to be undone...there's no nut on the other side as the shock lower yoke is
threaded! |
| |
 |
| |
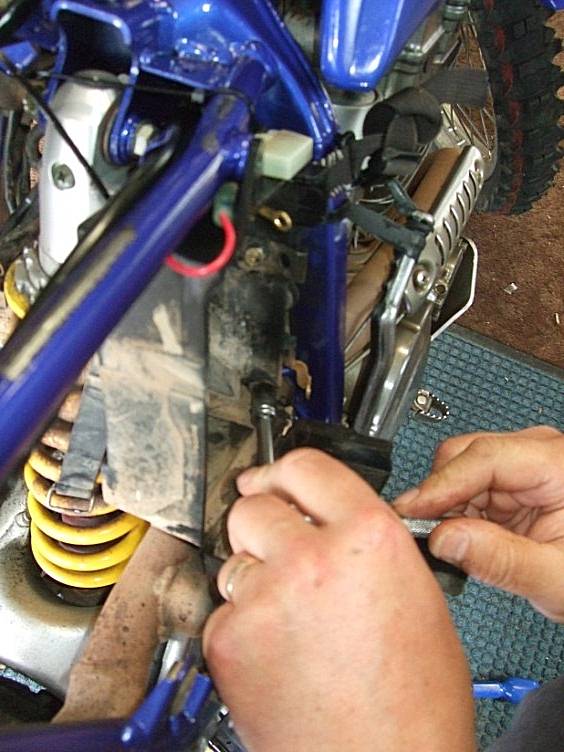
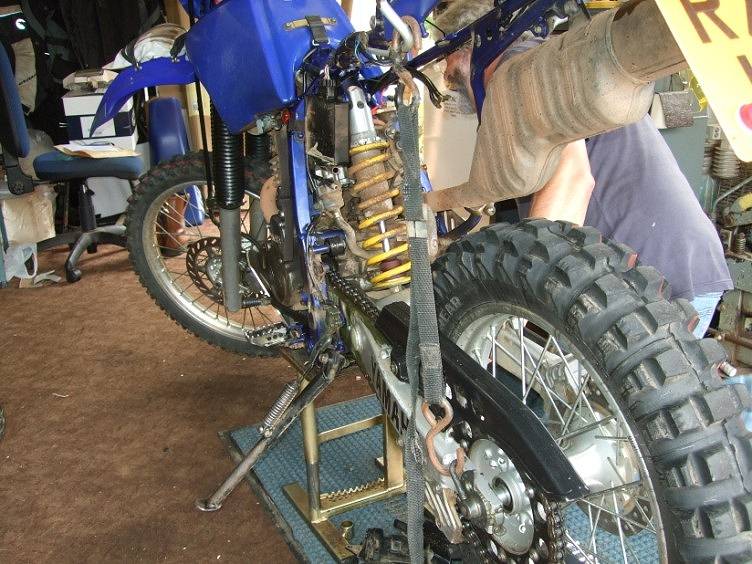
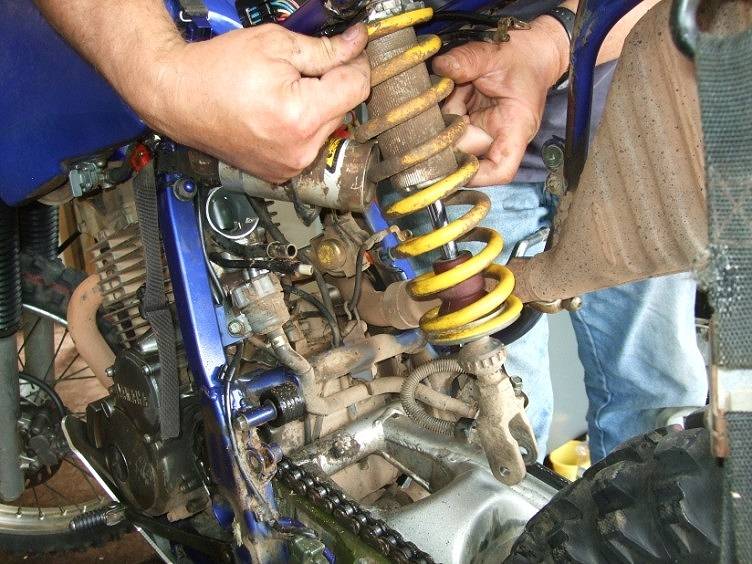
| A strap has been fitted between the
subframe and the swinging arm to take the weight |
| |
 |
| |
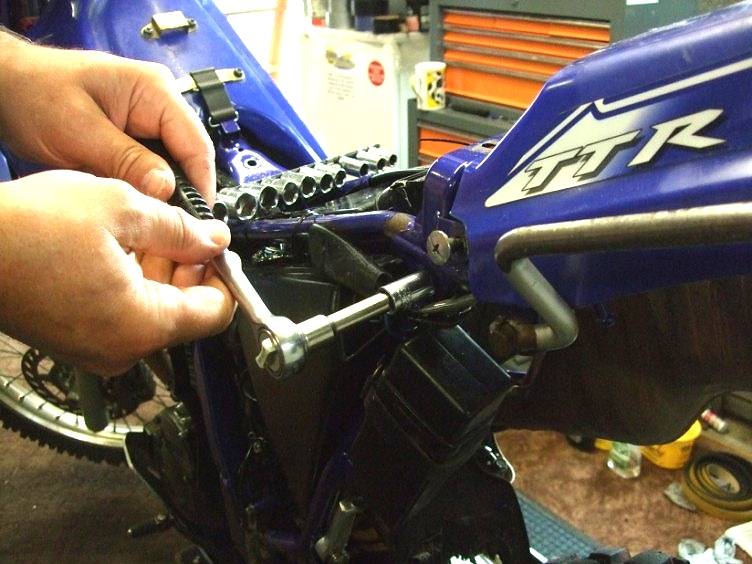
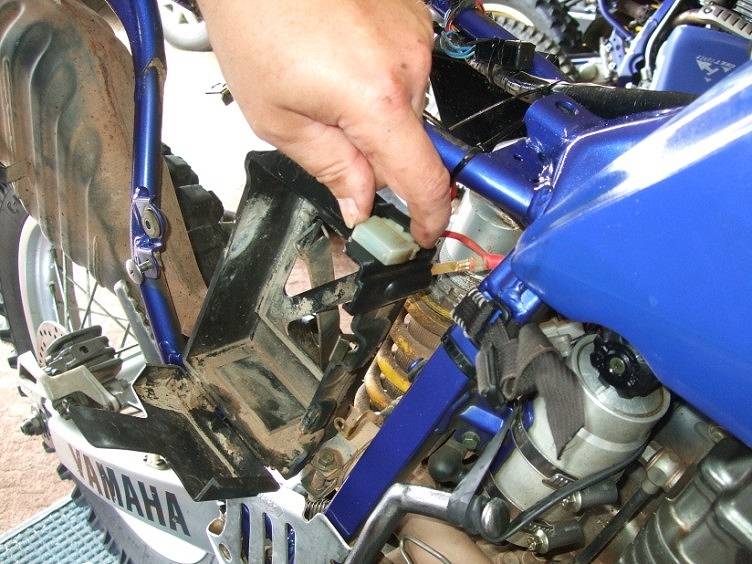
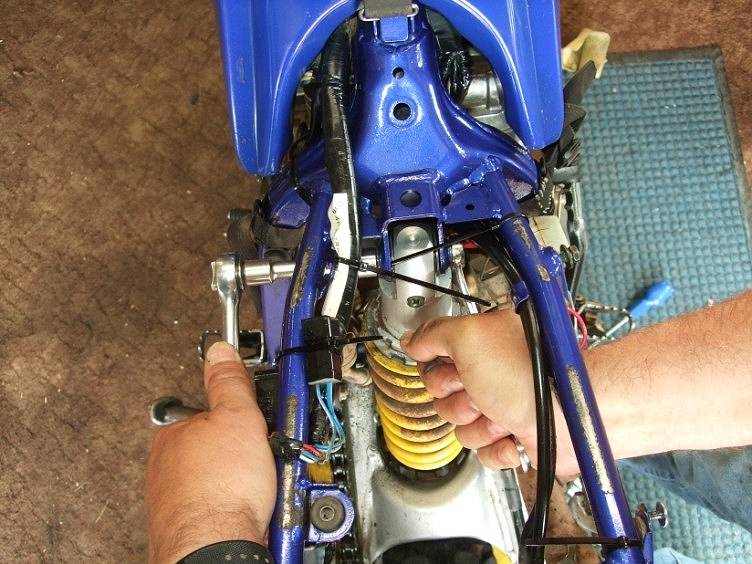
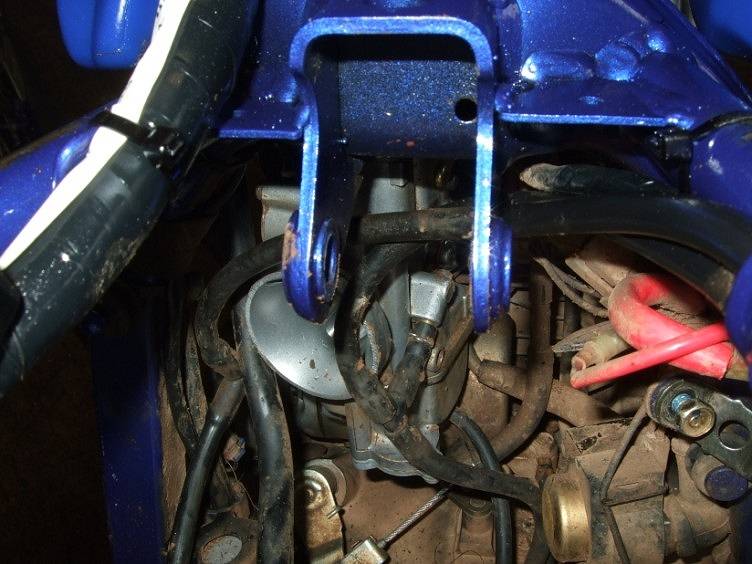
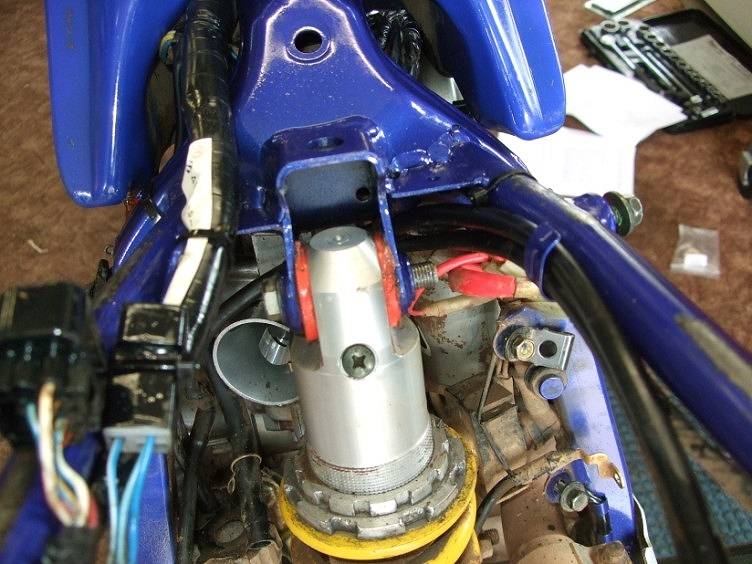
| Notice the bolt for the top shocker
mounting has been fitted from the battery box side. When we replace the top
mounting we fit the bolt from the Left-Hand side of the bike so if we need to
remove the rear shock again we don't need to disturb the battery
box! |
| |
 |
| |
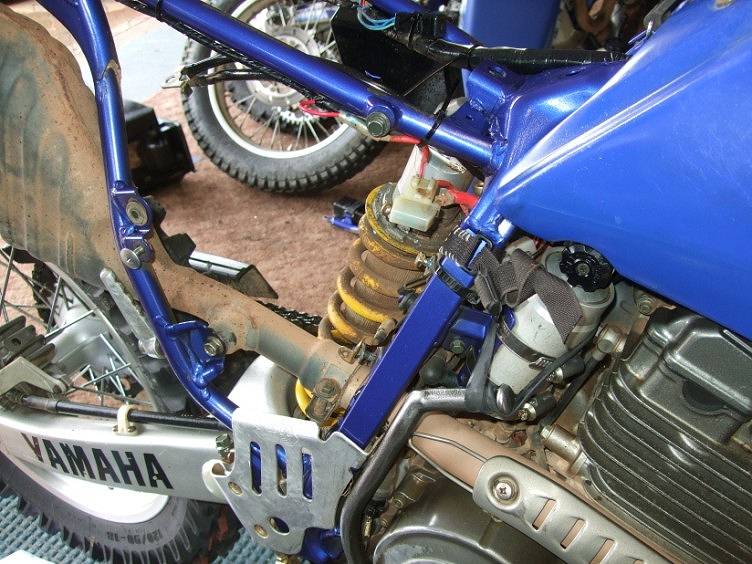
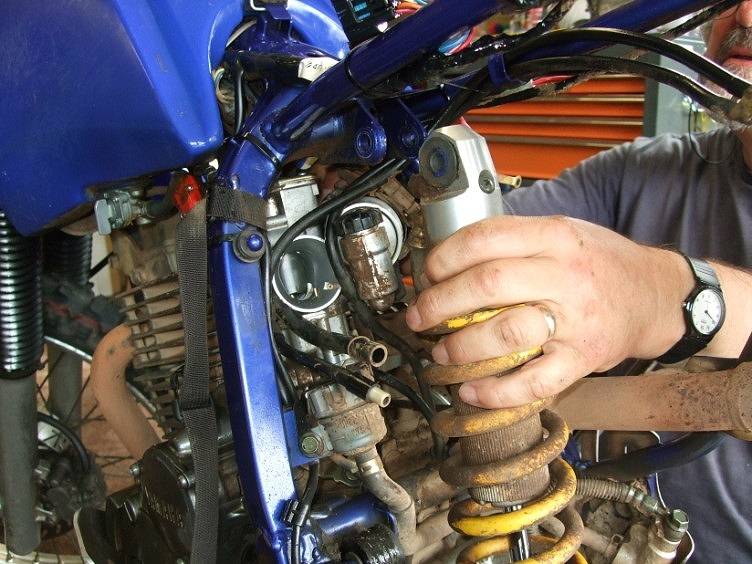
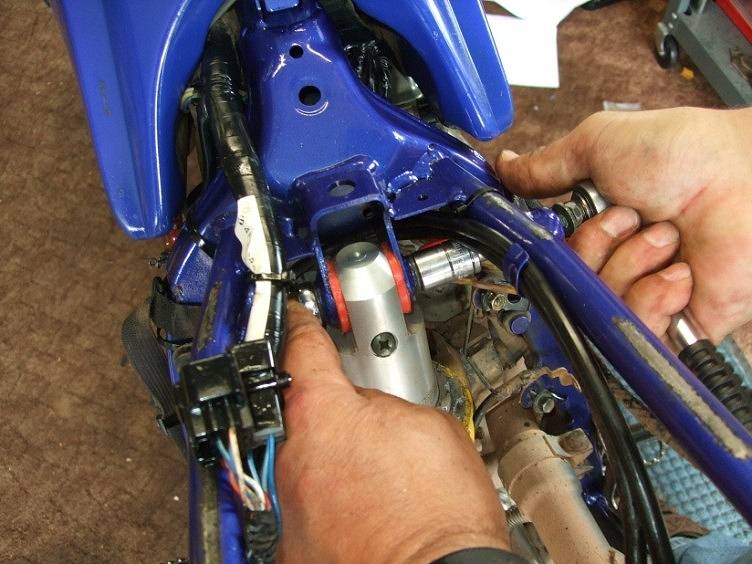
| TRICKY BIT - thread the shocker
reservoir through the frame to remove the shock assy |
| |
 |
| |
| Reservoir out and the shocker is
lifted up off the lower linkage.... |
| |
 |
| |
| ...up through the top of the
subframe to allow the lower yoke out of the swing arm. |
| |
 |
| |
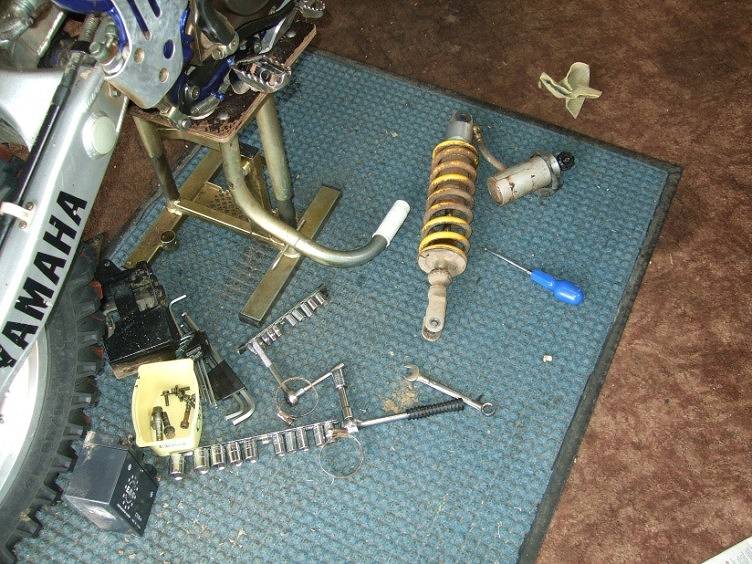
| Shock assembly is out! |
| |
 |
| |
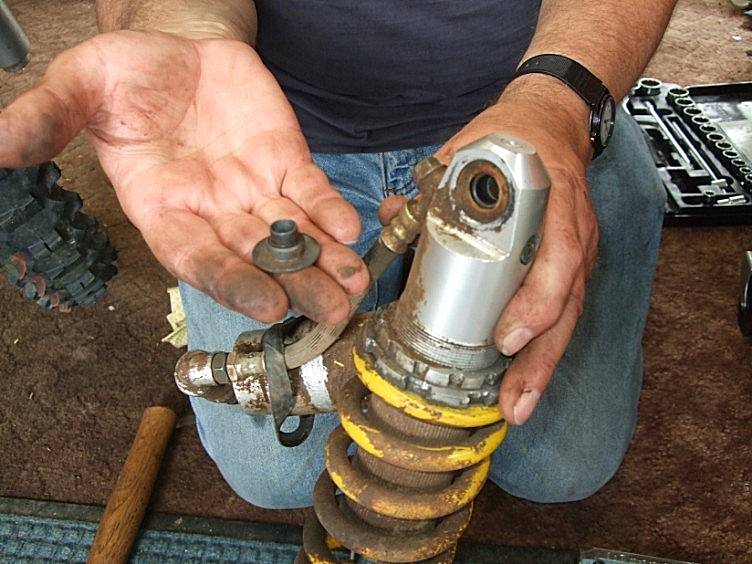
| Using a punch, tap one of the
collars out of the bearing |
| |
 |
| |
 |
| |
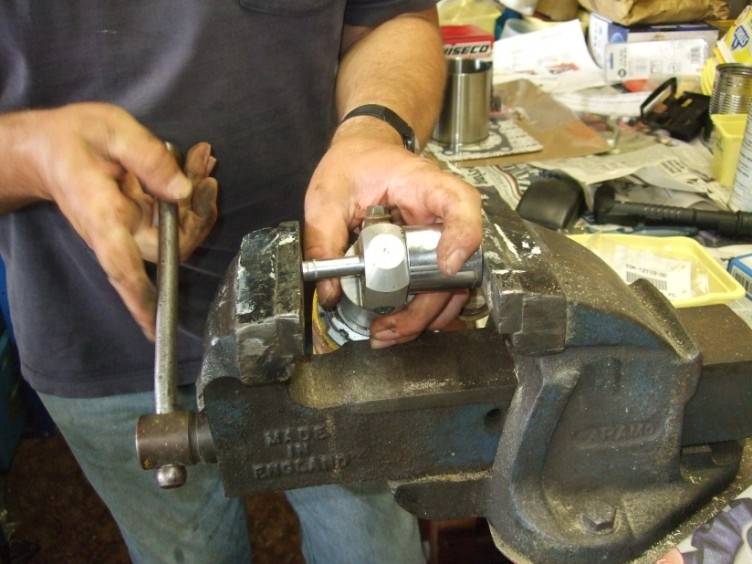
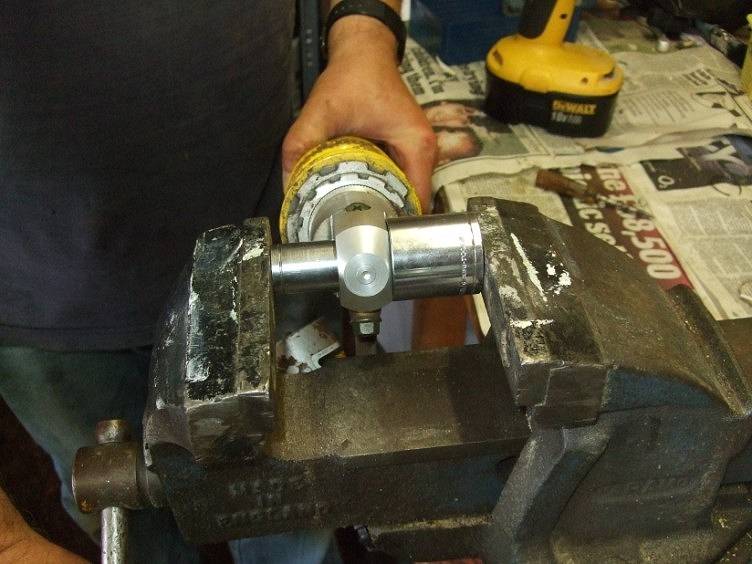
| Brian used the vice, a
28mm and 10mm socket to push the remaining collar out |
| |
 |
| |
| et voila Monsieur...the collars are
free! |
| |
 |
| |
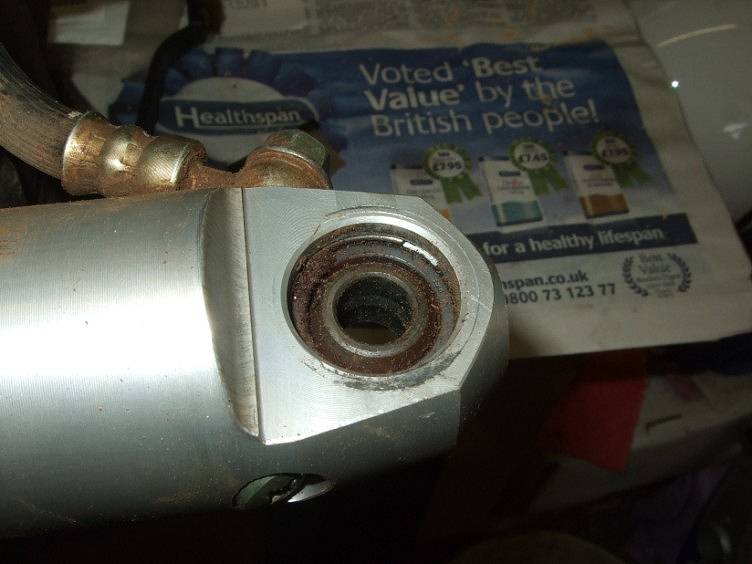
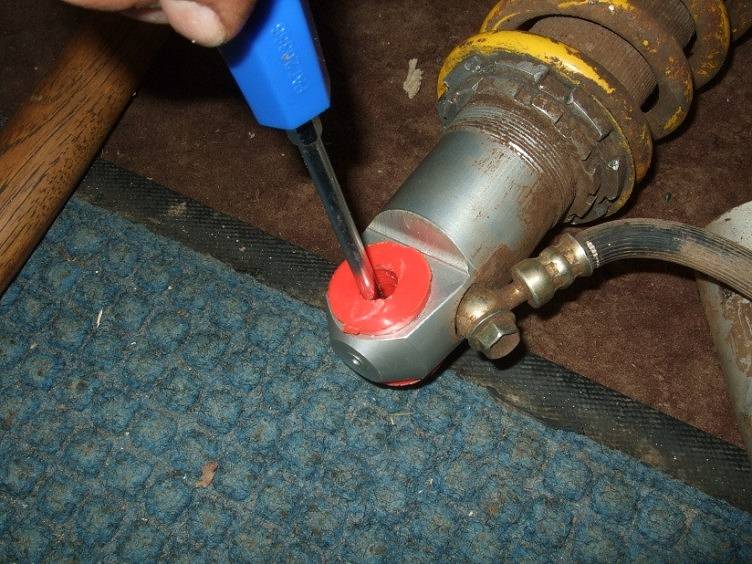
| Make sure the gap in the circlip is
away from the 'meaty' part of the shocker eye... |
| |
 |
| |
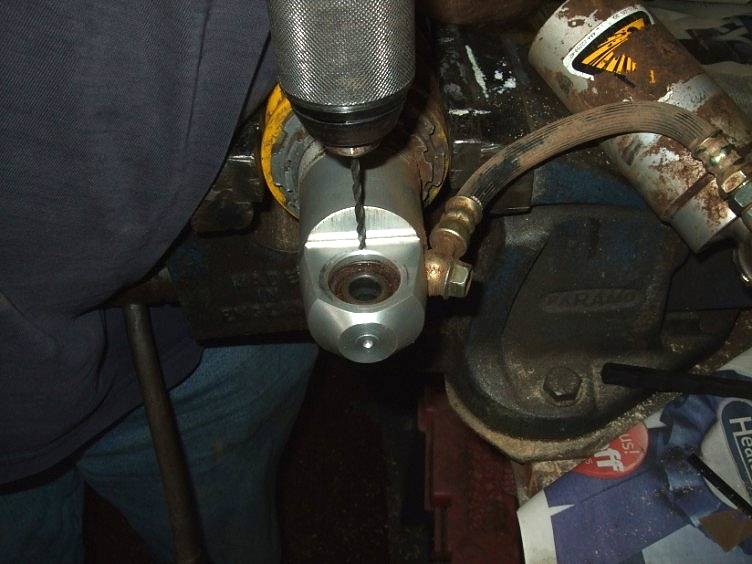
| drill down just past the circlip and
'break' the drill out of the side of the eye .. |
| |
 |
| |
 |
| |
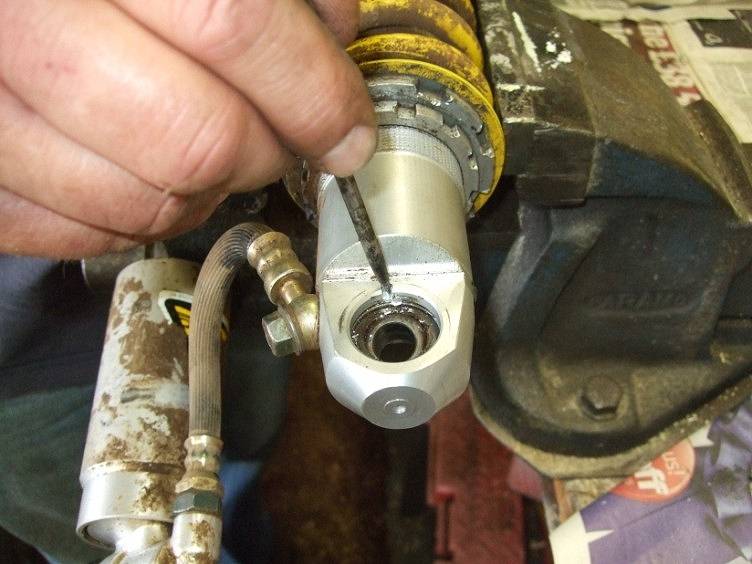
| Using a small pin punch or similar,
hook out the circlip...careful, they tend to fly when released! |
| |
 |
| |
 |
| |
| Repeat the drilling and hooking for
the other side |
| |
| Using a 28mm and a 17mm socket push
the old bearing out of the eye. This can be tapped out with a hammer if you
don't have access to a vice. |
| |
 |
| |
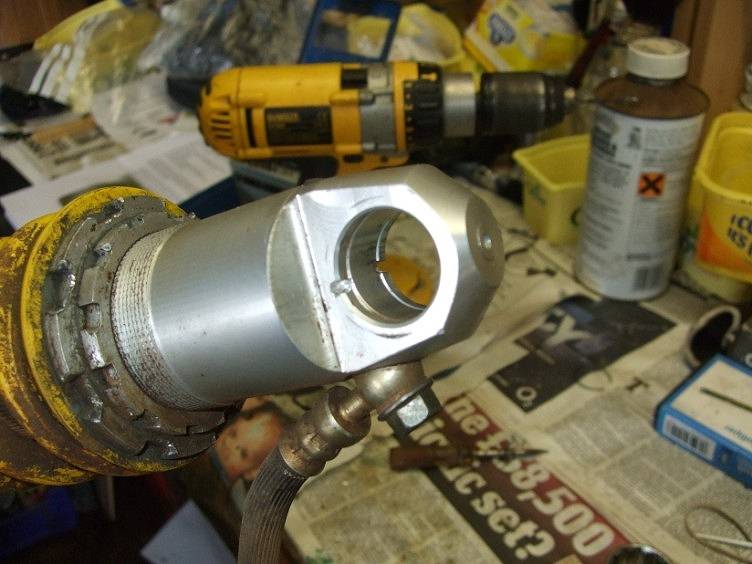
| All parts removed from the eye. If
the eye has a build up of 'crud' on it please scrape around it with an old
blunt knife. It doesn't need to be pristine but we don't want lumps in
it! |
| |
 |
| |
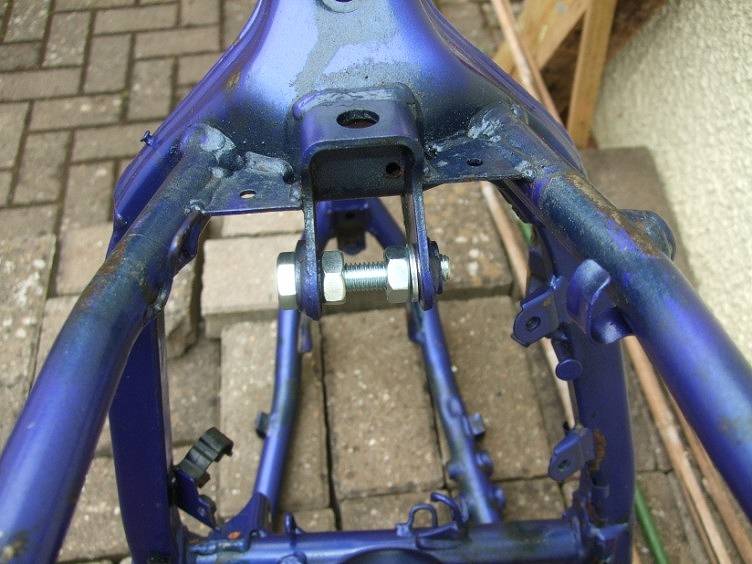
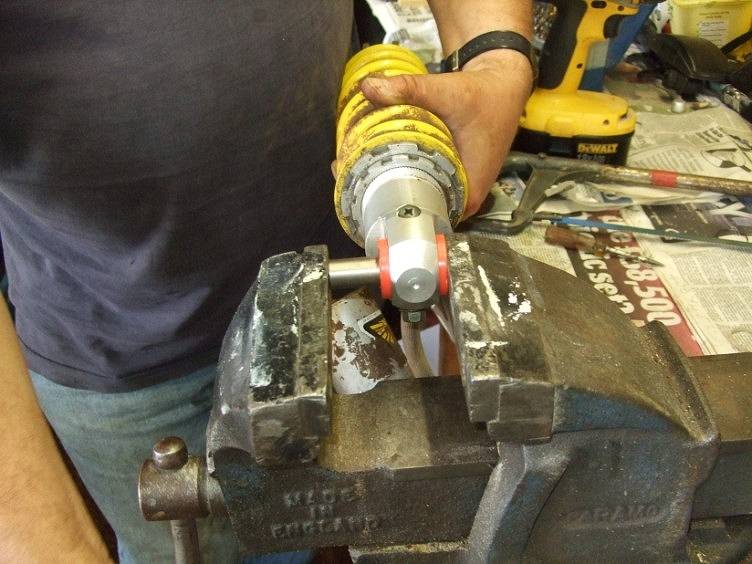
| The frame yoke needs to be widened
due to it having a couple of washers reinforcing the inside of the
flanges |
| |
 |
| |
| you can just make out the reinforced
flanges in the shot above and below |
| |
 |
| |
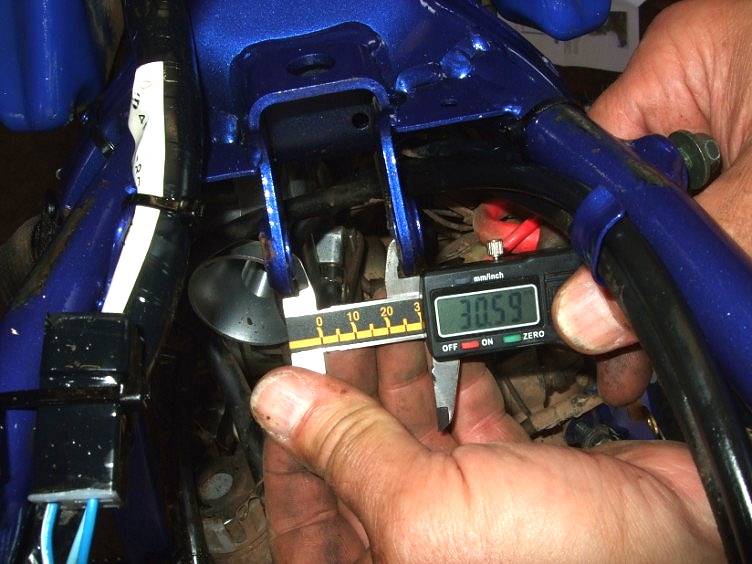
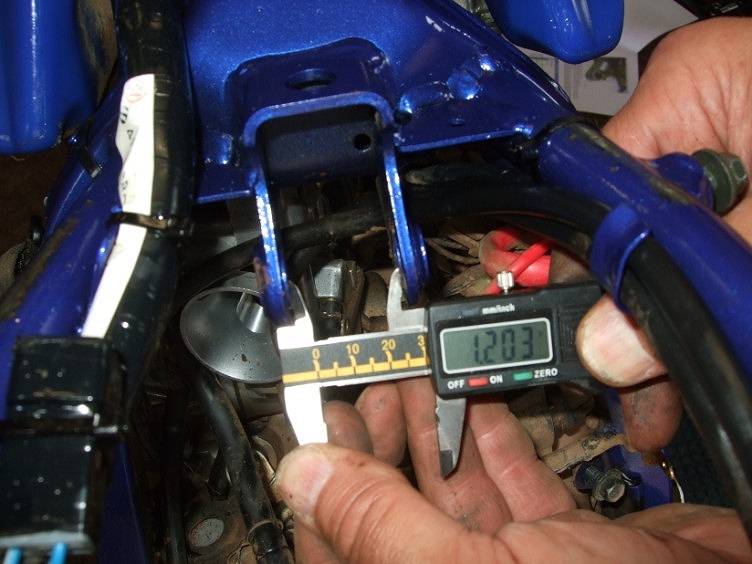
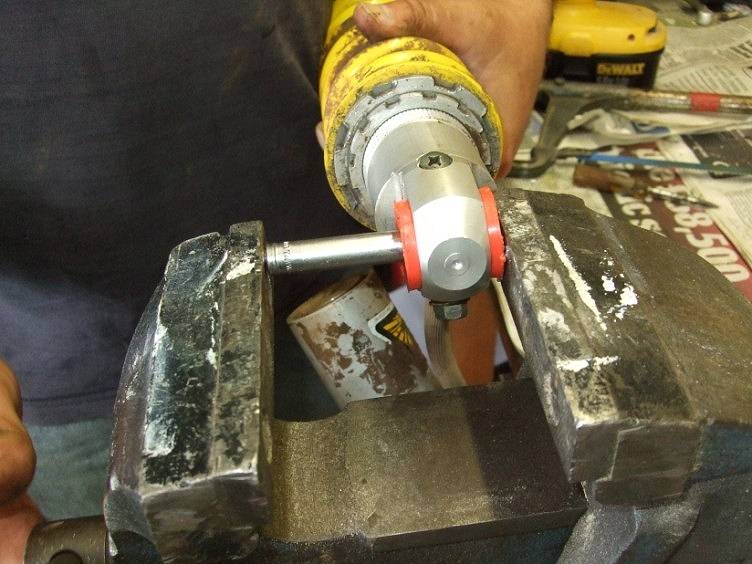
| Without spreading the yoke measured
30.59mm....or..... |
| |
 |
| |
| ...1.203" |
| |
 |
| |
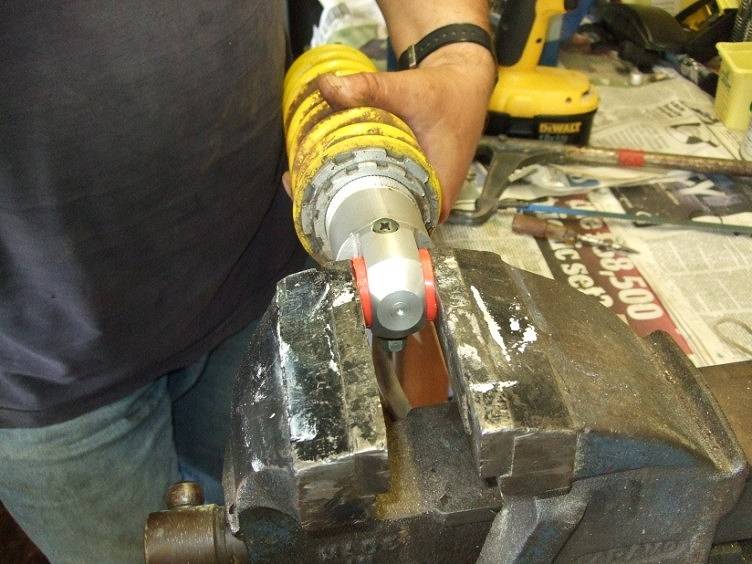
| The spreader bolt can be done either
way round |
| |
 |
| |
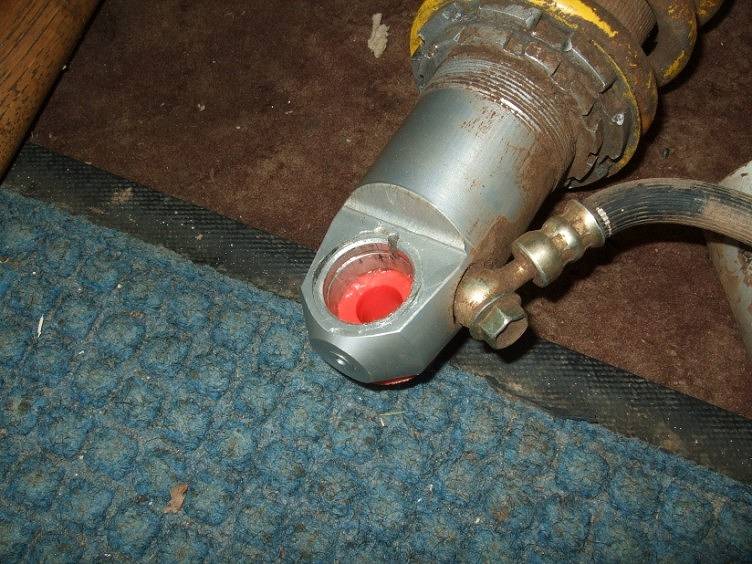
| Grease the eye up using the supplied
Silicone Grease and insert a new polyurethane bush (the ones in the
kits are now purple rather than red - the only difference is the
colour!) |
| |
 |
| |
| Put the other bush in and apply the
same grease to the inside of the bushes. Spread it about using a
Phillips
screwdriver or similar. |
| |
 |
| |
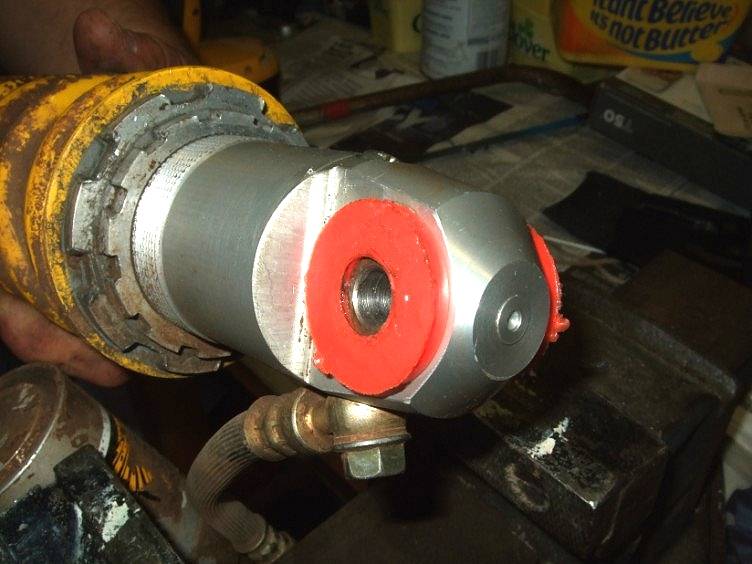
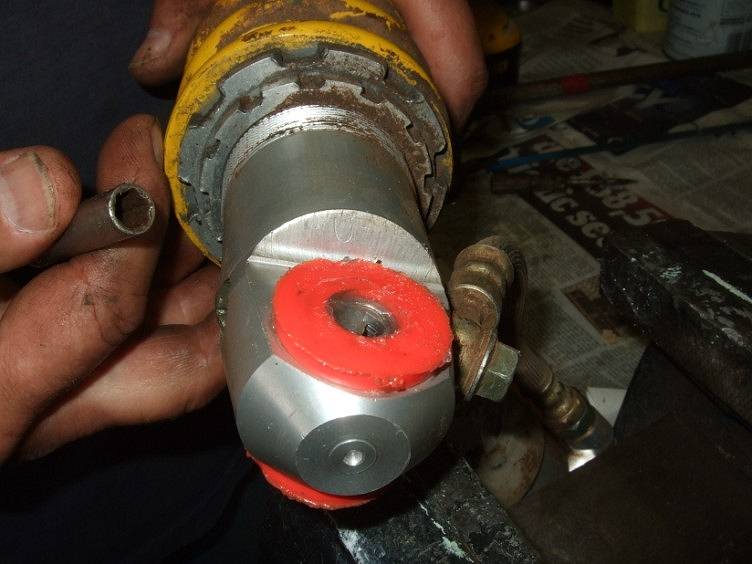
| Locate the leading edge of the
centre spacer (it has a slight chamfer on it to assist fitting) and press it
into the bushes |
| |
 |
| |
 |
| |
| Using a 10mm socket centralise the
spacer in the bushes |
| |
 |
| |
| This is what it should look
like |
| |
 |
| |
 |
| |
| Drop the shocker onto the lower
linkage and feed the reservoir, base first, into the frame. This
can be a bit
tricky! |
| |
 |
| |
| Insert lower shock bolt and
tighten |
| |
 |
| |
| Slather the inside edges of the yoke
with the grease.... |
| |
 |
| |
| and put loads more on the edges of
the bushes |
| |
 |
| |
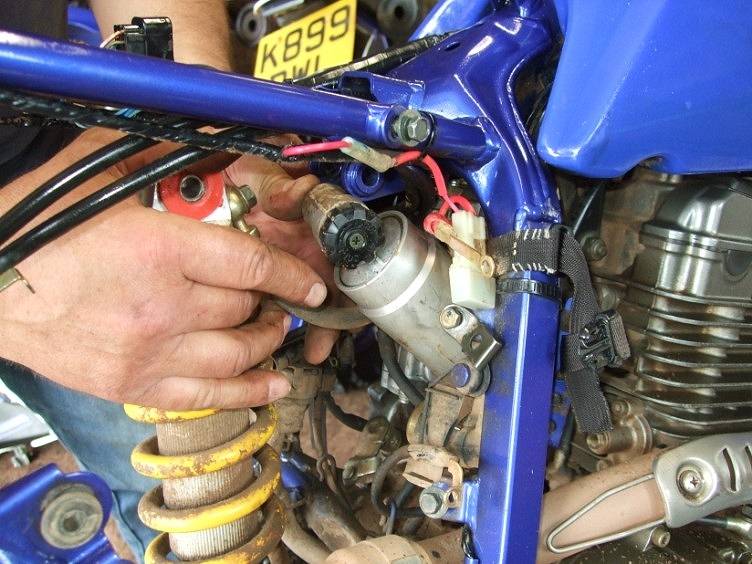
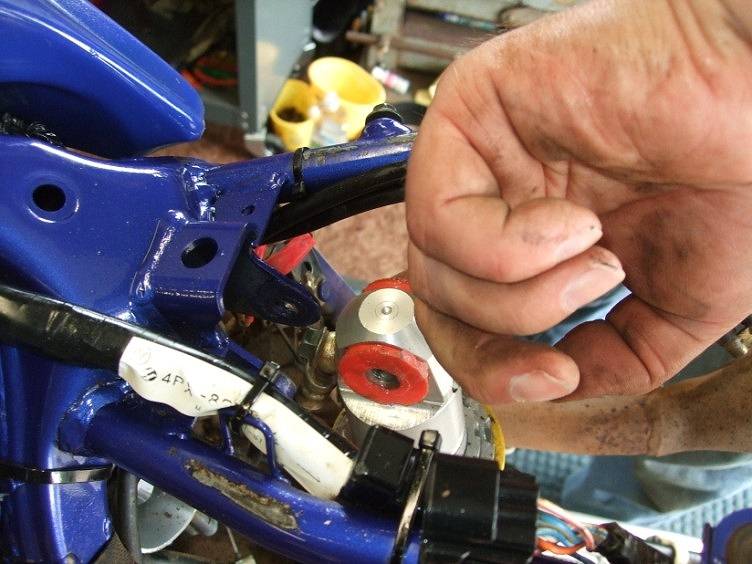
| Gently feed the shock absorber top
eye back into the yoke |
| |
 |
| |
| Fits well doesn't it? |
| |
 |
| |
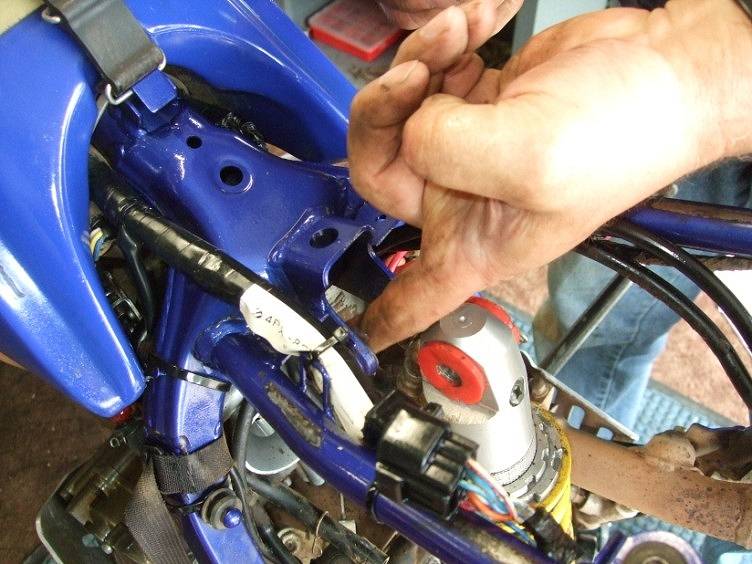
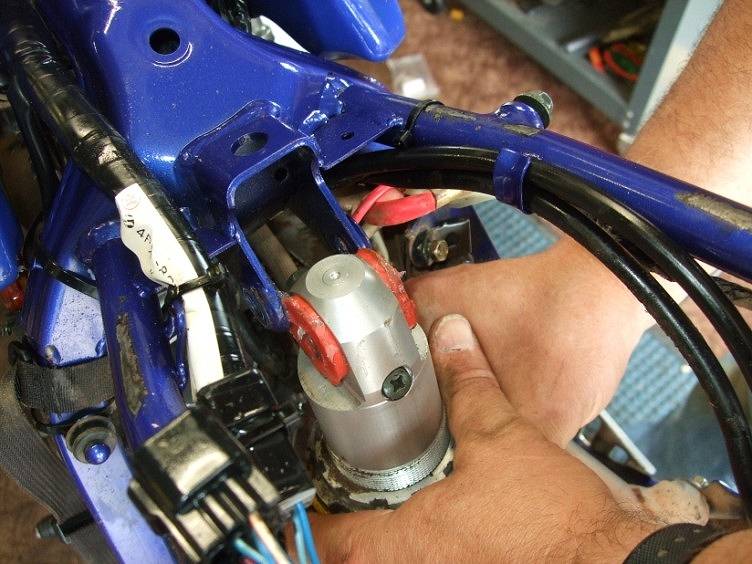
| Use the Phillips screwdriver to line
the yoke and eye up and insert the top bolt from the Left-Hand side of the
bike. |
| |
 |
| |
| Bolt inserted from the
left |
| |
 |
| |
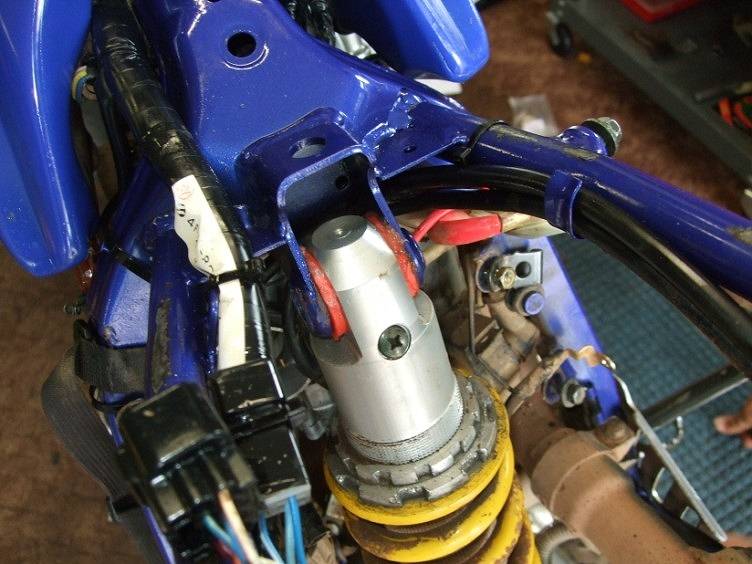
| Tighten the bolt until you feel it
pull the flanges of the yoke onto the new centre bush...then fully tighten
it. |
| |
 |
| |
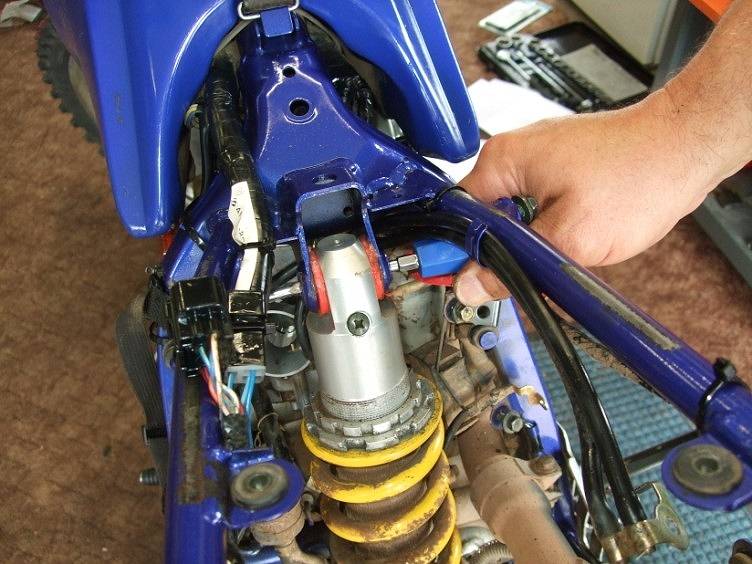
| The shock absorber is back in
place. |
| |
 |
| |
Photos over...refit the
following
The battery box and
battery
The airbox by rotating it back
into it's space whilst attaching the elbow to the carb and the breather pipe to
the breather.
Attach the clips onto
the shocker reservoir and clamp them up
Refit the Left-Hand subframe support rail
Refit the side panels and seat.
job done, time for a cuppa! |
| |
|
Buy
your kit here! |
| |
|
http://www.totallyttrs.com/
- everything you need (possibly!) for
your TTR250
http://www.ttr250.com/
- all you ever wanted to know
about TTR250s
http://ttr250.activeboard.com/
- the forum for TTR250 owners
http://www.totallywrs.com/
-
for all your WR250R and WR250X after-market parts and accessories
Reference within this site to any specific commercial or
non-commercial product, process, or service by trade name, trademark,
manufacturer, private individual or otherwise does not constitute or imply
an endorsement, recommendation, or favour by Brian Sussex or
Totally TTRs
|