DISCLAIMER: The modifications described in the following text are for educational purposes only. In no way do I recommend that you apply these modifications to your own motorcycle. If you do choose to go ahead and modify your motorcycle based on the information in this document you will accept all responsibility for your own actions. The author(s) of this document, and host(s) providing it for you, accept no responsibility whatsoever. If you are unqualified to make any of the changes described herein but are bent on doing the modification, seek out a knowledgeable friend or professional mechanic for assistance.
Replacing the rear brake pads on a Yamaha TTR250
It's a pretty simple operation. Just follow this step by step pictorial guide.
Tools needed:- wheel-nut spanner (24mm), plain screwdriver, wire brush, and 5mm hex socket/tool.
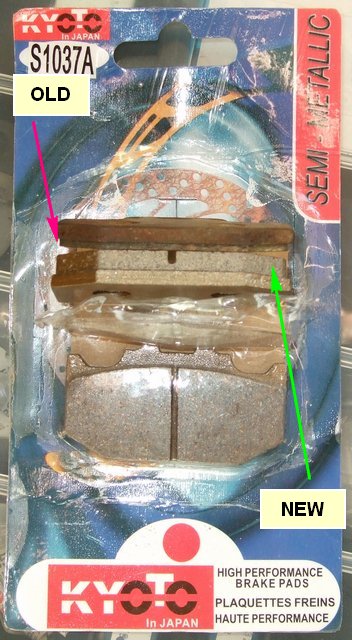
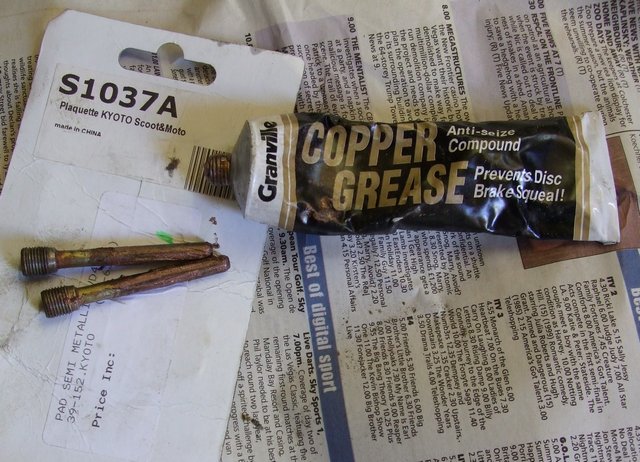
Parts/supplies: Brake pads (I use sintered pads which give longer life - see here) and Copper Slip grease.
Clear a space and get the bike up on a stand with the back wheel able to spin freely.
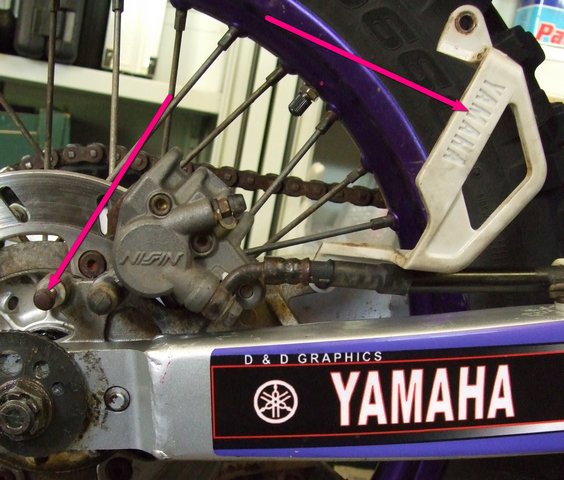
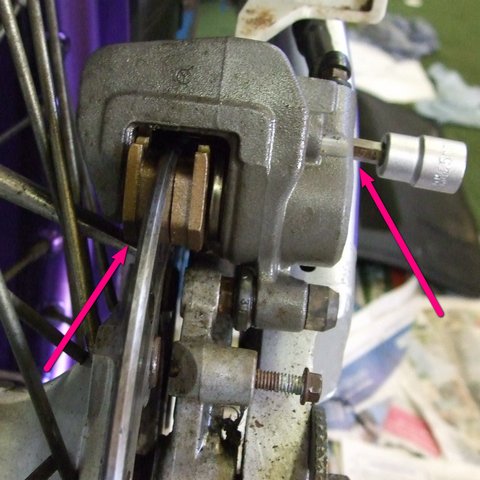
First loosen the front bolt on the caliper guard and then remove the rear one so that you can swing the guard up out of the way.
Remove both brake pins. Make sure your Allen key is the right size and a tight fit. as you don't want to round them off as drilling them out is a real pain.
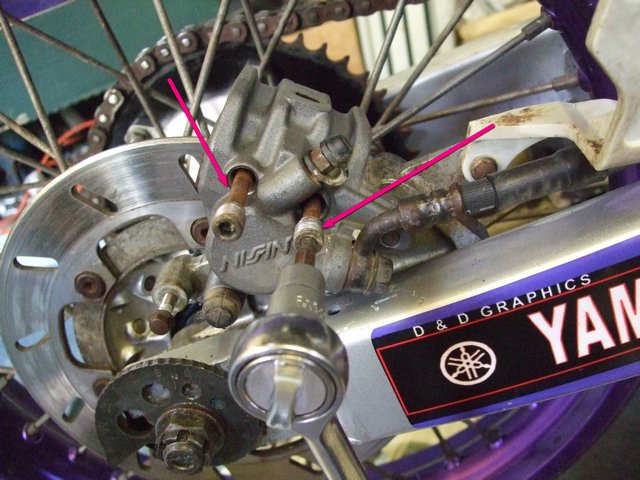
The piston is going to be pushed back in to the caliper so at this stage it's a good idea to make sure it is clean and to give it a squirt of lubricant.
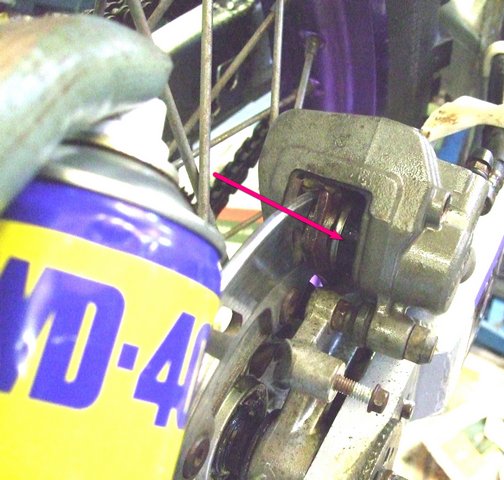
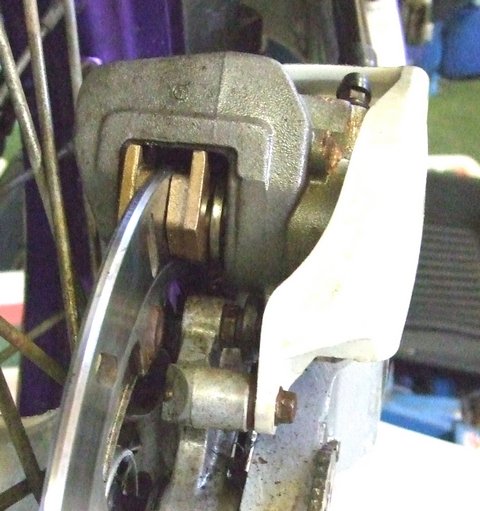
It should be possible to push the caliper body inwards toward the wheel so as to
push the piston back in and give plenty of room for the new thicker pads.
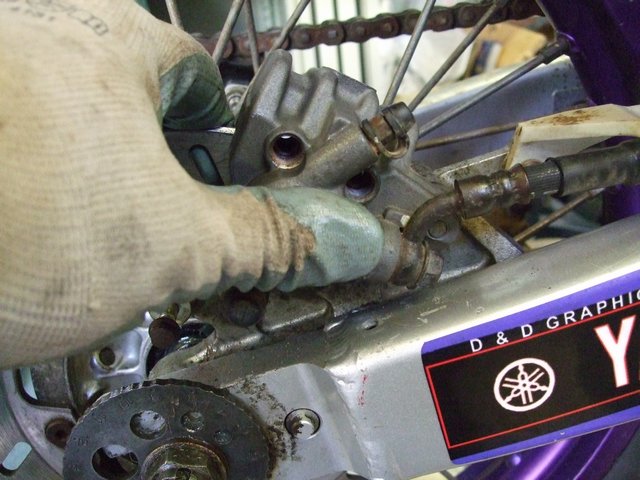
If the caliper body is stiff or seized then it needs further inspection. There are two sliders protected by rubber seals. If water gets in they can quickly seize whilst the bike is laid up. The parts are simple to replace - see here
The old pads should just drop out at this stage. Clean out any mud or debris that might have built up in the caliper body and give it a good spray of lubricant to help make fitting the new pads easier. There is a sprung bit of stainless steel that sits in the caliper and this helps keep the pads from "chattering".
Not a good pic but it does show the difference in thickness between old and new pads.
Wire brush the pins clean and give a good coating of Copper Grease. This allows the pads to move freely on the pins and helps prevent them seizing in.
Push the rear of the pads up into the caliper body - outside one first - and catch them on the front pin. There will be some slight resistance from the anti-chatter spring. I use a large screwdriver to help in this process but no real force should be needed.
With the front of the pads now secure it only remains to push the rear up against the spring (using a screwdriver again) and catch them on the rear pin. Tighten the brake pins very carefully - if you over tighten the pins they will stick and have to be drilled out. If in doubt about the fit of the Allen key into the brake pin, don't refit it - replace it instead.

Swing the guard back down and secure with the bolts.
Job done!
Brian Sussex
Compiled by Brian Sussex, Devon, UK
http://www.totallyttrs.com/
- everything you need (possibly!) for
your TTR250
http://www.ttr250.com/
- all you ever wanted to know
about TTR250s
http://ttr250.activeboard.com/
- the forum for TTR250 owners
http://www.totallywrs.com/
-
for all your WR250R and WR250X after-market parts and accessories
Reference within this site to any specific commercial or non-commercial product, process, or service by trade name, trademark, manufacturer, private individual or otherwise does not constitute or imply an endorsement, recommendation, or favour by Brian Sussex or Totally TTRs