There is quite a lot of work involved and it is essential that you have the workshop manual to hand for full details of the procedures, torque settings, etc.
Before you start, make sure that the bike is safely on a stand and at a comfortable working height - if at all possible.
Buy the correct fork oil seals and, preferably, new dust seals especially if you are not using fork gaiters. Either use OEM or an AllBalls kit.
It is
important to check for backwards and forward play and, if there is any, install
a bushing kit otherwise the oil seal will quickly fail again.
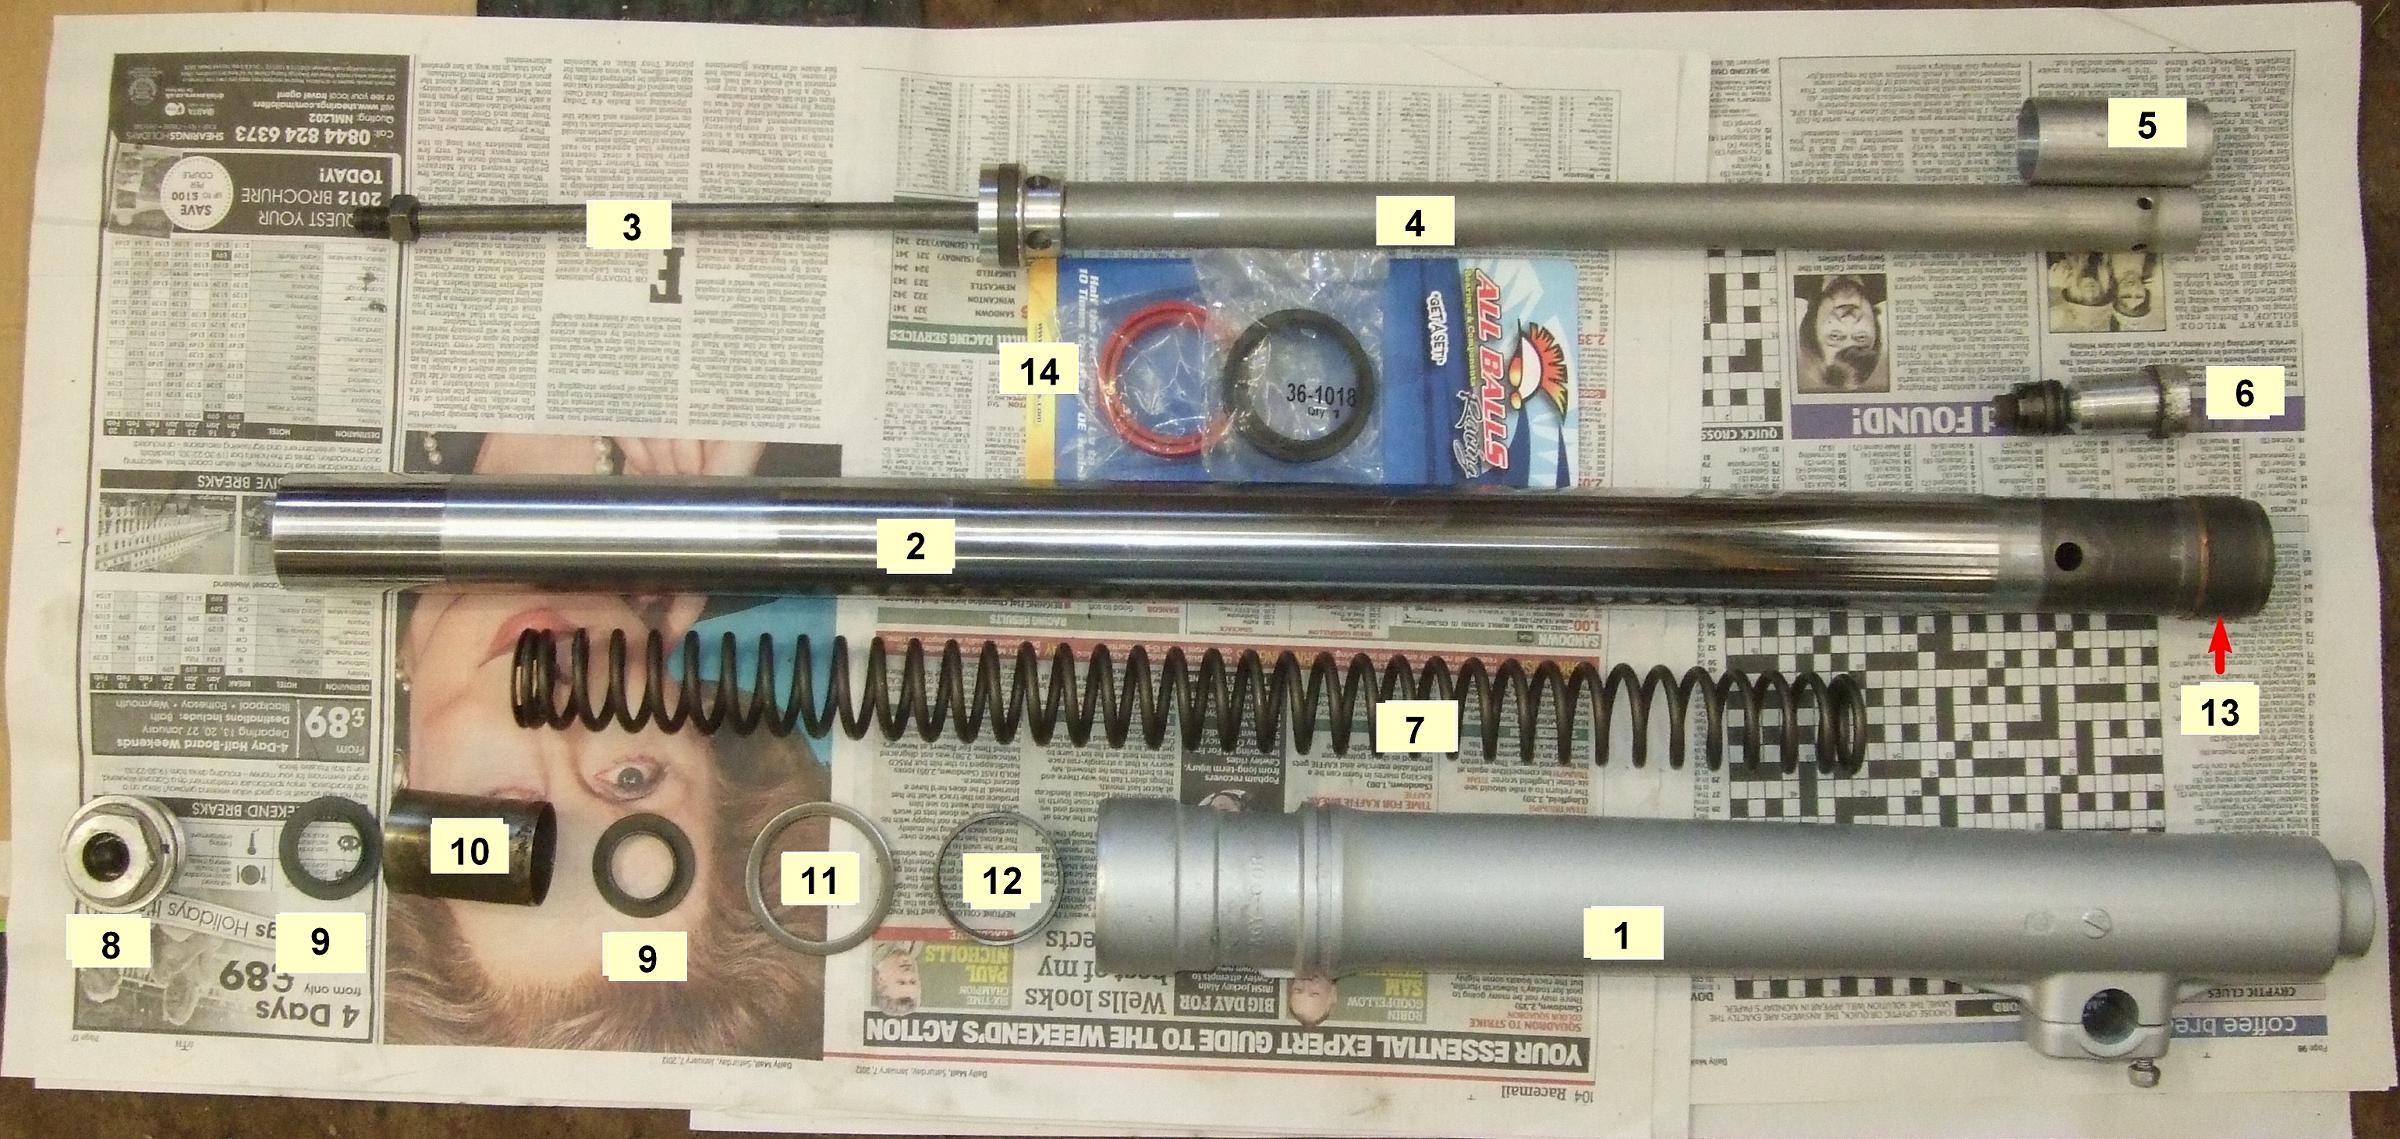
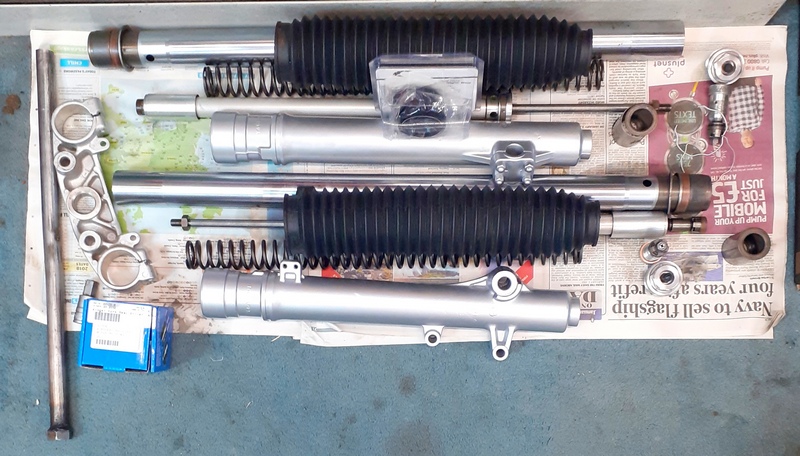
It is sometimes difficult to cross reference descriptions in the workshop manual to the real thing so I hope the pic above (open it in a new browser window or save it to your PC/laptop/tablet if you need to enlarge it for clarity) and the legend below will help:
1 - outer fork tube
2 - inner fork tube
3 - Damper rod assembly with rebound spring still attached
4 - damper rod
5 - oil lock piece
6 - base valve
7 - fork spring
8 - cap bolt
9 - spring seats
10 - collar
11 - plain washer
12 - slide metal
13 - piston metal
14 - oil (red) and dust (black) seals - I use AllBalls kits
The internals of the forks may vary slightly but just keep them laid out in their correct order and you will be OK!
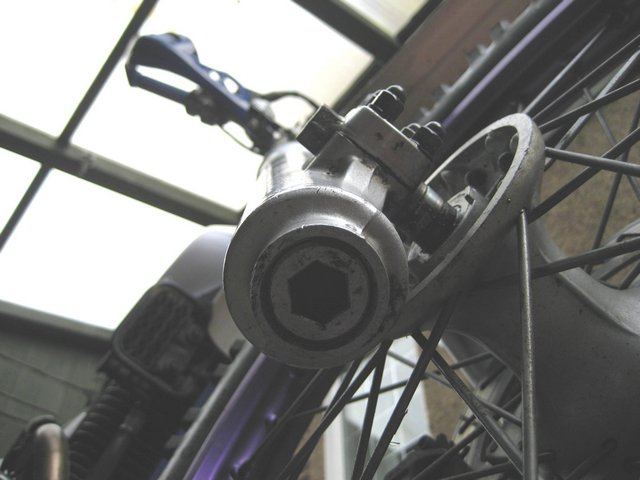
Push down hard on forks and loosen this 14mm hex nut on the base valve (6) of both forks before dismantling. Access to a "windy" or "rattle" gun will make this job easier.
NB If the hex nut is seized
in then you can carry on without undoing it but it won't be possible to clean
the internals of the fork leg quite as well as if it's all apart.
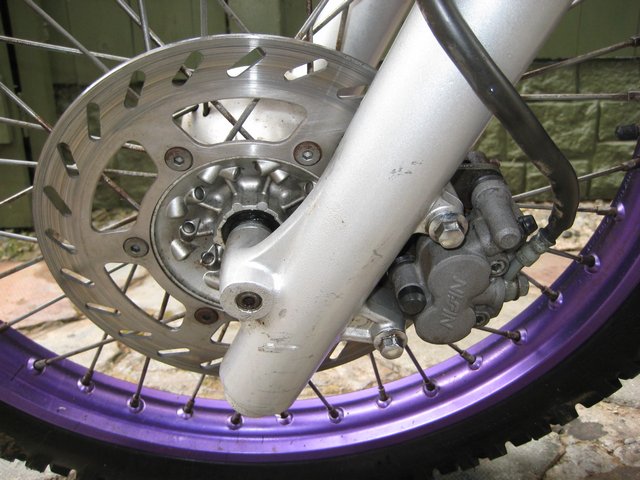
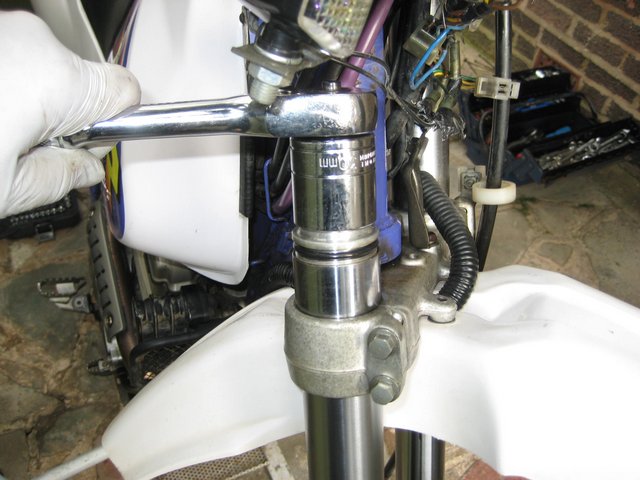
Loosen brake caliper bolts and all fork clamp bolts
Pull stanchion down and clamp tight again in lower yoke; this enables you to
loosen top stanchion cap bolt (8) without having to disturb handlebars etc (same
goes for installing as well )
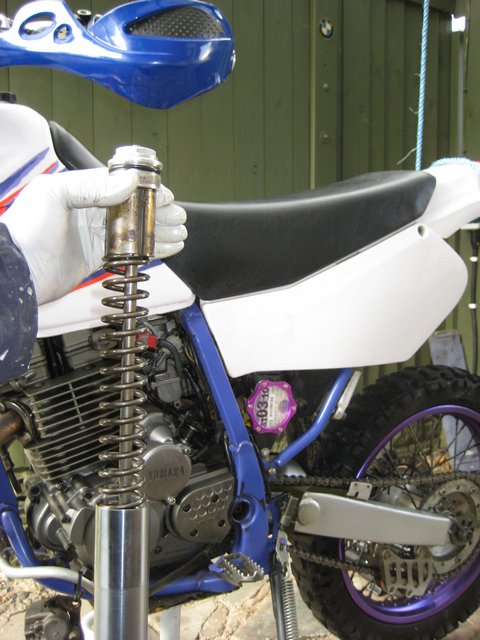
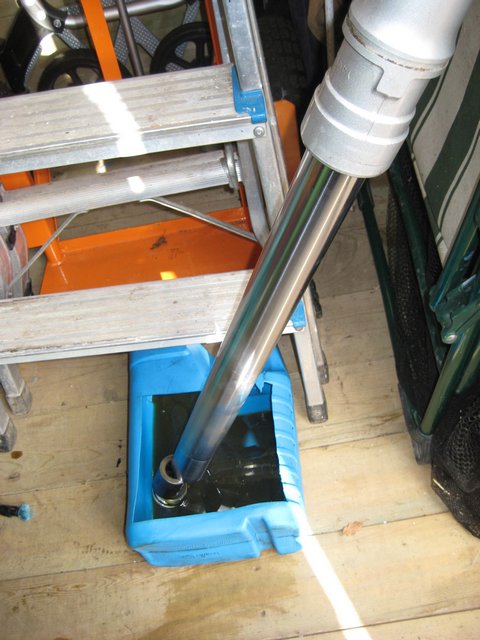
Unscrew fork top (it isn't under any pressure once you have let the air out from
the top valve) and drain oil...messy so have well covered area.
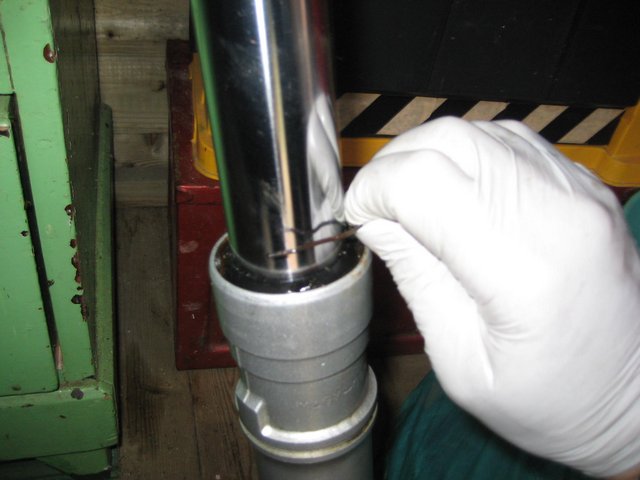
Remove wire clip (snap ring) and then remove dust seal. In case of any doubt, replace the
dust seal as well as the oil seal.
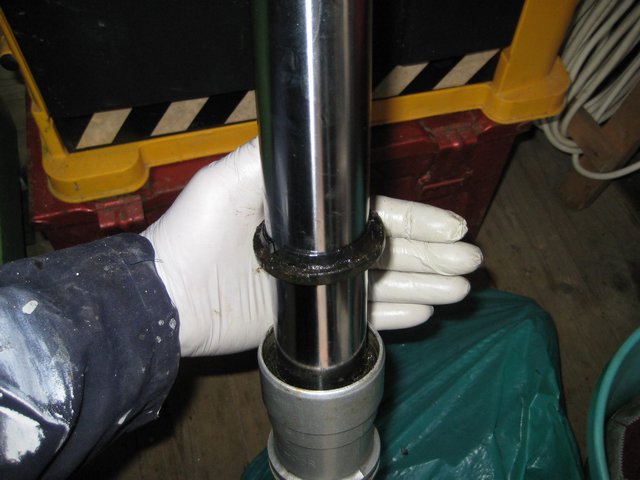
That is the oil seal - try to get it out with a seal puller first
If no seal puller then unscrew bottom hex nut that you initially loosened and
remove bottom fitting (all one piece )
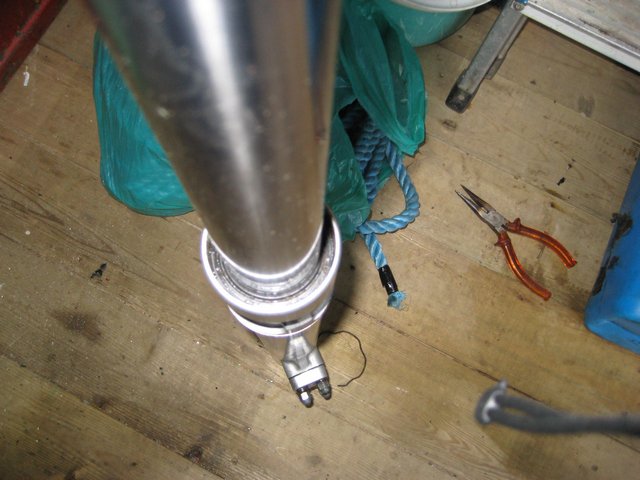
Pull fork leg very firmly a few times until seal and slider come out.. It takes
a bit of effort.
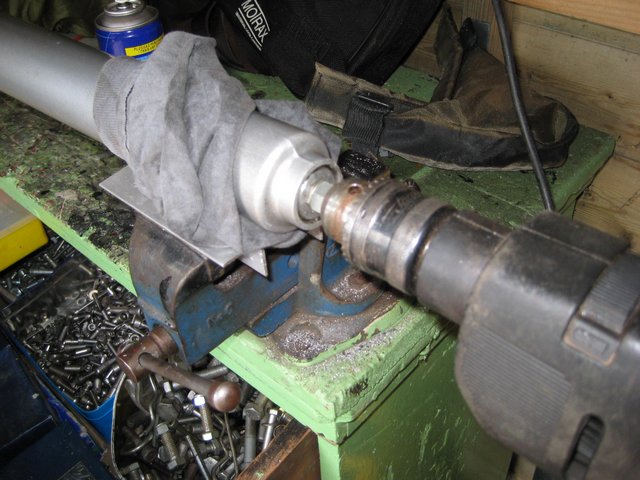
Make a homemade plate with a 14mm slot (or use an open end spanner of the same
size) to hold top of fork from spring and unbolt fork top.
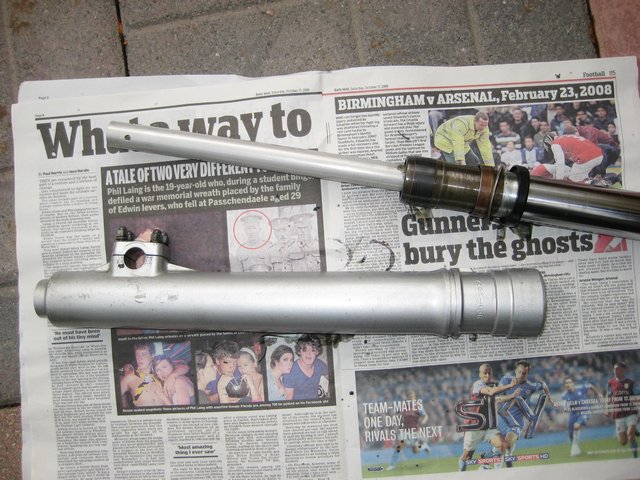
Remove the old oil and dust seals and clean everything up.
Your forks should look something like this - ready for re-assembly.
Re-assembly is pretty much a reverse of the above.
First insert the damper rod assembly into the chrome tube stanchion and fit it to the lower fork leg.
You may need to use a punch to tap the slide metal (12) back in place.
Put metal
spacer over the slider. This is where the seal will sit.
Install the base valve and tighten to 55Nm.
Lube new seals and carefully slot and lower down stanchion. Use an old seal packet with a bit of fork oil on to save damaging the seal lips.
Note: the double lip faces down on the oil seal as shown in pic:


Use a spare plain washer to put over the seals before tapping them in place with a bit of guttering pipe or similar:

This is the part number if you want to buy a section:

Next to fit was the retaining spring clip (snap ring). Why aren't they made of stainless
steel so they don't rust? (New snap rings are available here when
purchased with a repair kit)

Top up each leg with 550cc of fork oil of the weight of your choice. 7.5W or 10W will give you a stiffer fork action.

Follow the instructions in the manual to pump the damper rod slowly up and down 10 times to distribute the fork oil. Then pump the inner fork tube (2) slowly up and down (no more than 150mm) and wait a few minutes for the air bubbles to disperse - all as per workshop manual.
Now checked the oil level and adjust to 130mm as per manual. To help with this process you can fix a cable tie tightly to a screwdriver shaft.

It is then a simple job to slowly top up the oil until it just showed on the end
of the screwdriver.

Make sure you have a retaining string or wire on the damper rod so as not to
lose it down the tube! Then fit the spring (7), spring seats (9) and collar(10)
by threading them over the wire:

Having fitted the main fork spring (7), spring seats (9) and collar(10) by threading them over the wire, pull up the damper with the wire and screw on the cap bolt (8) using an open-end spanner on the lock nut.

It is then a simple job to screw the cap bolt into the inner fork tube (2).

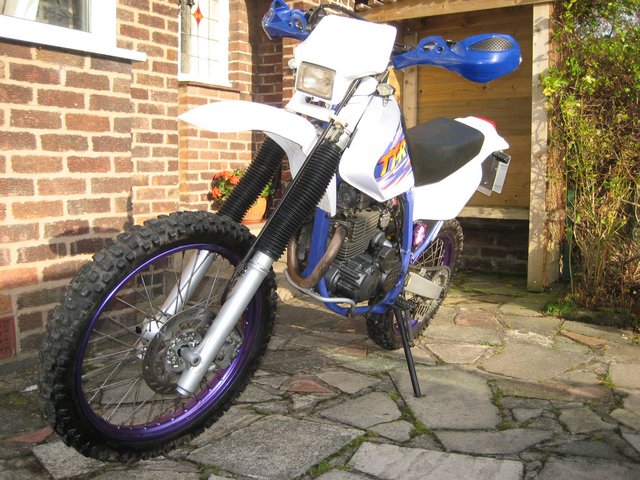
Job done - TTR up
and running :-)
Take your time, allow about 2 hrs :-)
Good luck! I hope the pics help.