DISCLAIMER: The modifications described in the following text are for educational purposes only. In no way do I recommend that you apply these modifications to your own motorcycle. If you do choose to go ahead and modify your motorcycle based on the information in this document you will accept all responsibility for your own actions. The author(s) of this document, and host(s) providing it for you, accept no responsibility whatsoever. If you are unqualified to make any of the changes described herein but are bent on doing the modification, seek out a knowledgeable friend or professional mechanic for assistance.
Replacing rear wheel bearings on a Yamaha TTR250
It's a pretty simple operation. Just follow this step by step pictorial guide.
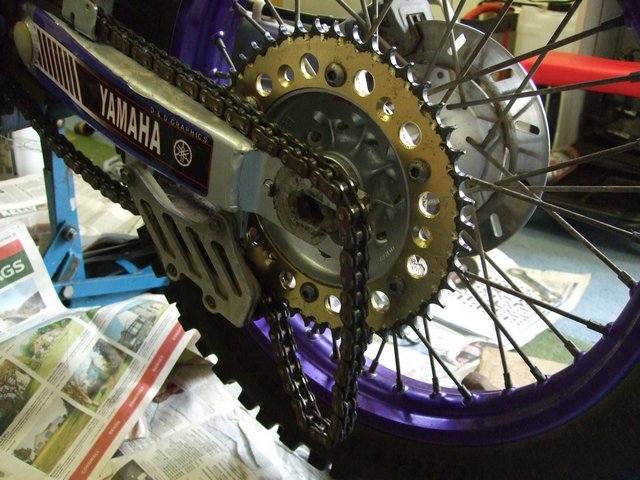
In this guide I am only going to replace the bearing on the brake disc side as the bearings on the sprocket side are perfectly OK. There are two bearings on that side but the removal and fitting process is basically the same. This might apply if this guide is used to help change wheel bearings on other makes and models so take a good look before trying to drift out those bearings!
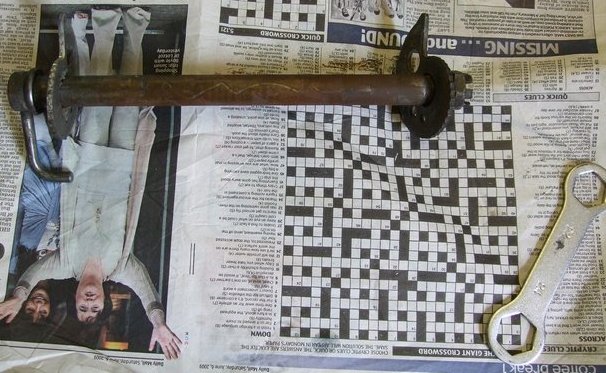
Tools needed:- wheel-nut spanner (24mm), plain screwdriver, 32mm socket or similar diameter item, drift with good edge, wire brush, piece of wood and a hammer.
Parts/supplies: An
All Balls kit or else 3 x 60/22 2RS bearing, 2 x oil seals size
28x47x7, grease.
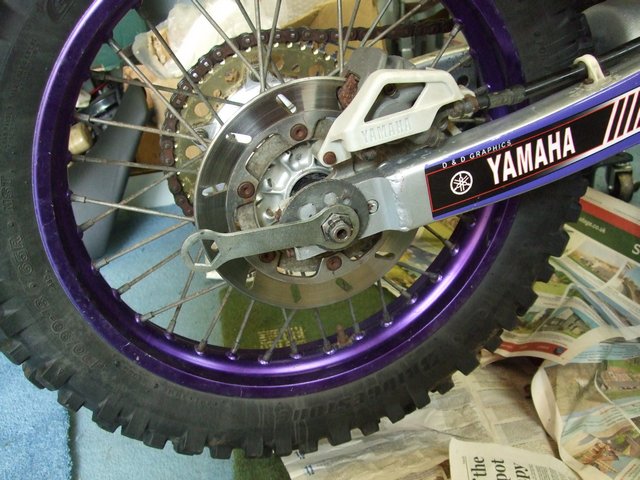
Clear a space and get the bike up on a stand with the back wheel able to spin freely.
First job is to get the rear axle out. If you use the spanner in the TTR's toolkit to undo (and replace) the axle nut then you know that you will be able to get the wheel out if you get a puncture on the trail. If you use a longer spanner from your workshop then you may use more leverage than you can undo with the shorter toolkit spanner!
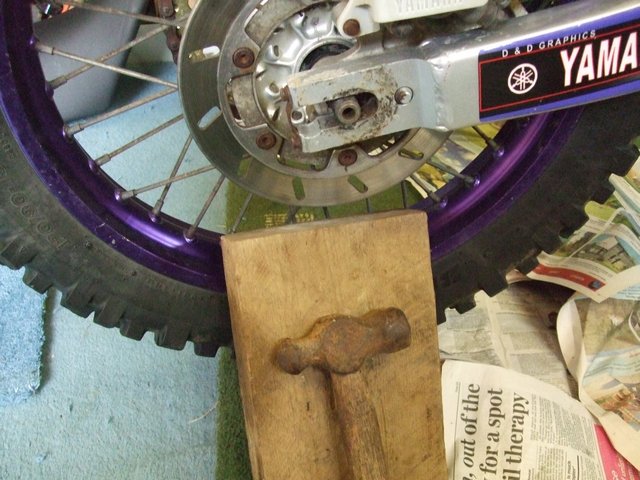
If the axle hasn't been out for a while you may need to drift it out with a hammer and block of wood. Put the wood over the threaded end of the axle to prevent damaging the threads. Once it has started to move it should be possible to pull it out from the other side.
Put the adjusters back on the axle and put it safely to
one side.
Lift the chain to one side to allow the wheel to be removed.
The spacer can sometimes be difficult to get out. I used a
proper bearing drift but an ordinary drift will do the job.

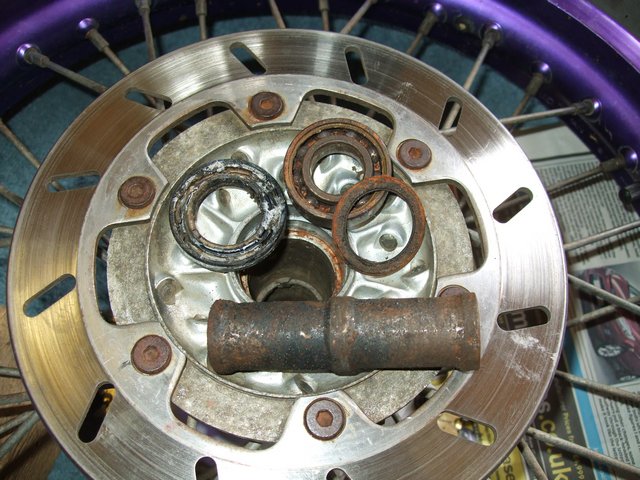
Prise out the old oil seal.

Next you have to displace the centre spacer enough to show an edge on the bearing to allow you to get a good hit on it with the drift.
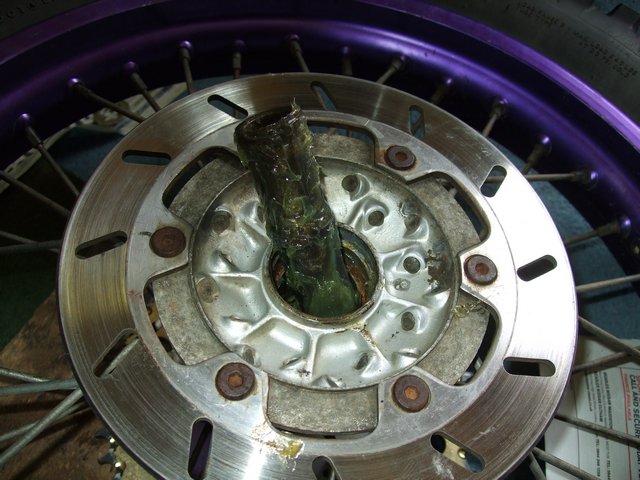
Your drift or long punch should have a good edge.
Insert the punch into the wheel and catch the edge of the bearing on the other side.
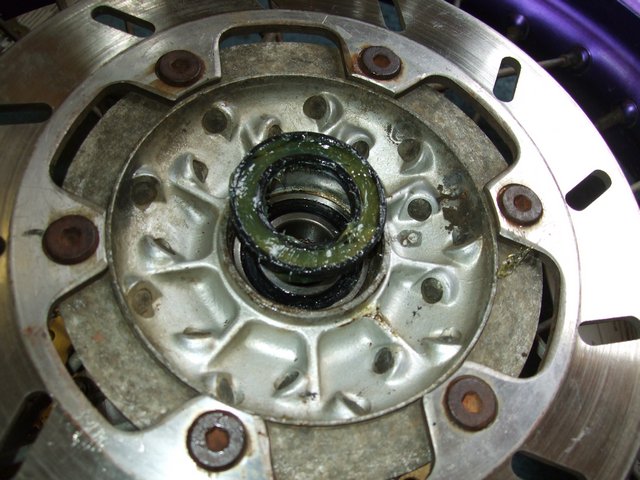
Using a hammer, hit the punch and work around the entire circumference of the bearing. The bearing and seal will eventually be pushed out of the wheel hub.
Do the same for the other side.

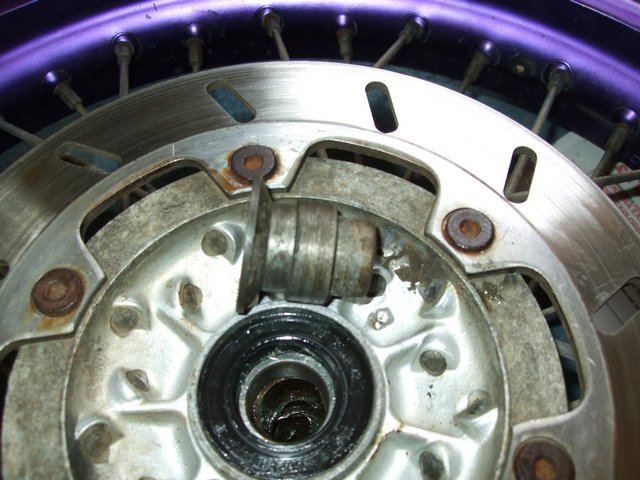
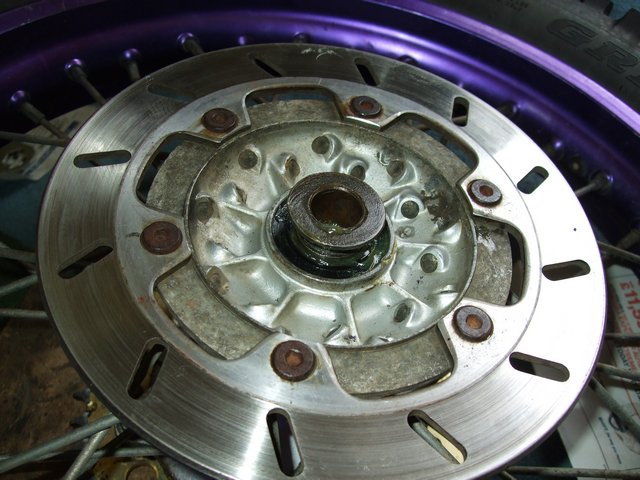
The bike hadn't been used in a while and the following pic shows the damage from moisture.
Clean all the rust off the spacer and grease it well
before replacing it.
It is now time to press or drive in the new bearing. I used a 32mm socket and hammer.
Be very careful to make sure the bearing goes in square.

After the bearing is fully home, it should be possible to push the oil seal in with your thumbs but fill it up with grease first. That doesn't leave any room for water.
Clean up the external spacers and check that they aren't too ridged where the old seals have rubbed on them.
If ridged then the seals won't work as it needs a flat surface for the lip to sit on.
TIP: Oil seals will not work if the collars are worn and ridged. If you have access to a lathe then the collars can be turned down flat and larger internal diameter seals fitted e.g. 26x47x7 on the rear.
Water will soon get in and rust your new bearings.
Mine were absolutely fine
.
Grease them well and it should be possible to push them in
place by hand.
Clean up the axle, grease it well and put it all back together.
Job done!
Brian Sussex
Compiled by Brian Sussex, Devon, UK
http://www.totallyttrs.com/
- everything you need (possibly!) for
your TTR250
http://www.ttr250.com/
- all you ever wanted to know
about TTR250s
http://ttr250.activeboard.com/
- the forum for TTR250 owners
http://www.totallywrs.com/
-
for all your WR250R and WR250X after-market parts and accessories
Reference within this site to any specific commercial or non-commercial product, process, or service by trade name, trademark, manufacturer, private individual or otherwise does not constitute or imply an endorsement, recommendation, or favour by Brian Sussex or Totally TTRs